


Comic Zine (Part 3) - Paneling
How to figure out the panel layouts and write the story for your comic zine.

(This post is part of the series Comic Zine, Step by Step. Read Part 1 and Part 2 here.)
On my last post, I shared with you how I develop the skeleton (or basic structure/outline) of my comic zine.
The next step is paneling.
Every creator does panel layouts differently.
Some like a lot of panels on a page*…
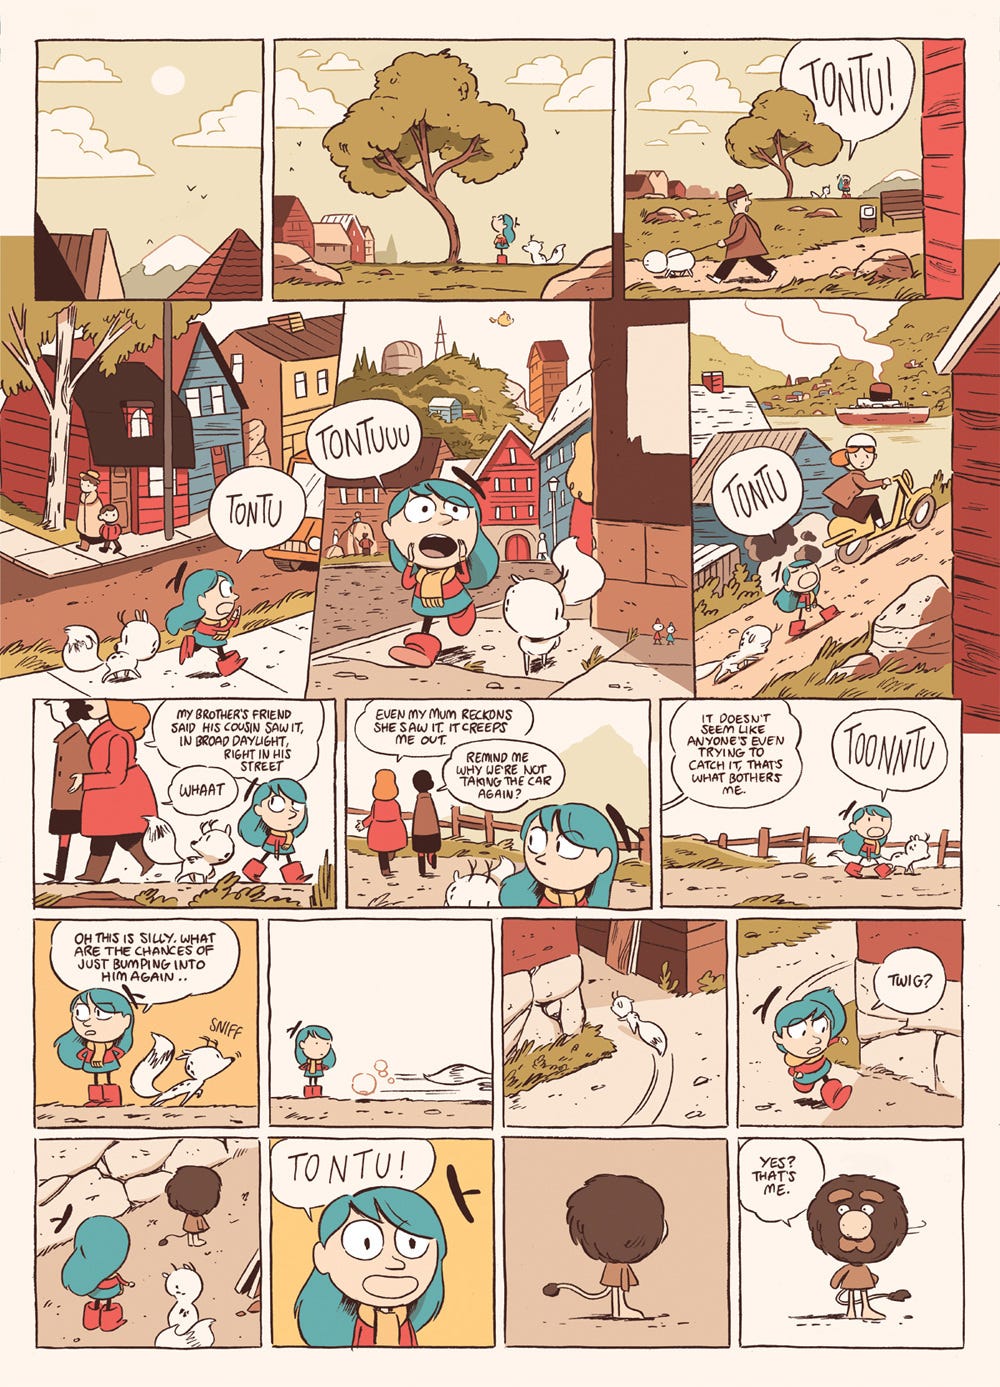
(*This usually means the page is a lot bigger in size.)
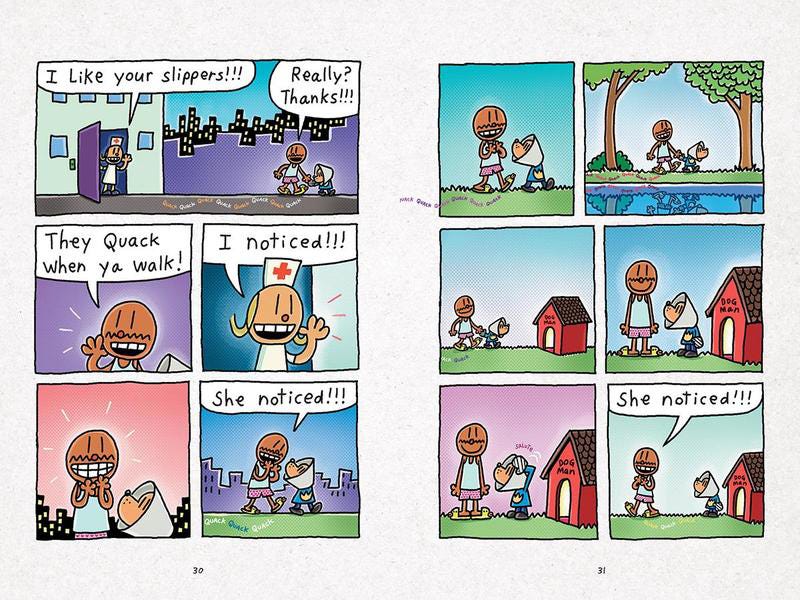
Some have a cleaner look…
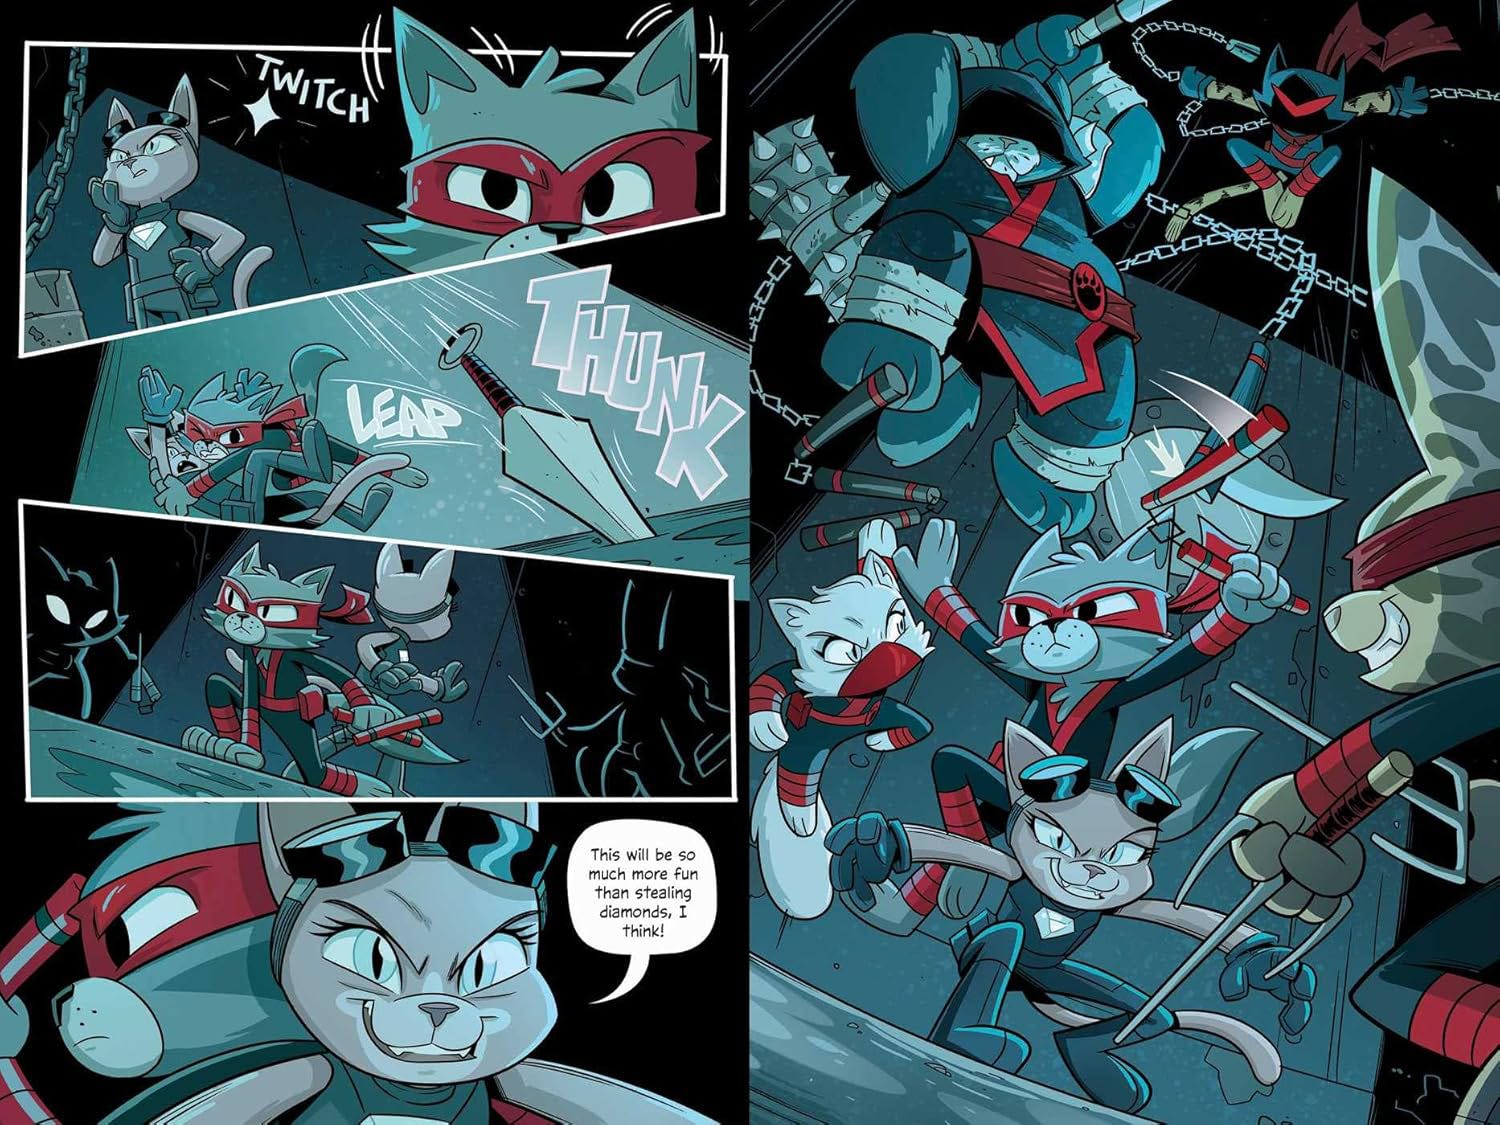
Some like lots of diagonal panels to convey a sense of action…
And on and on and on. There is no right or wrong in it. How one decides to do the panel layouts in a comic has lots of factors, including the age range of target audiences, the size of the book, the pace of the story, the creator’s style of execution, etc.
To learn more about paneling, check out my earlier Substack post on panel division.
For my zine, I am going for a simpler panel layout. It’s my preference both as a creator and as a reader.
I have two main grids layout myself. One is a three-across layout, meaning that there are three panels horizontally. The other is a two-across layout, meaning that there are two panels horizontally. I then divide panels vertically as I see fit.
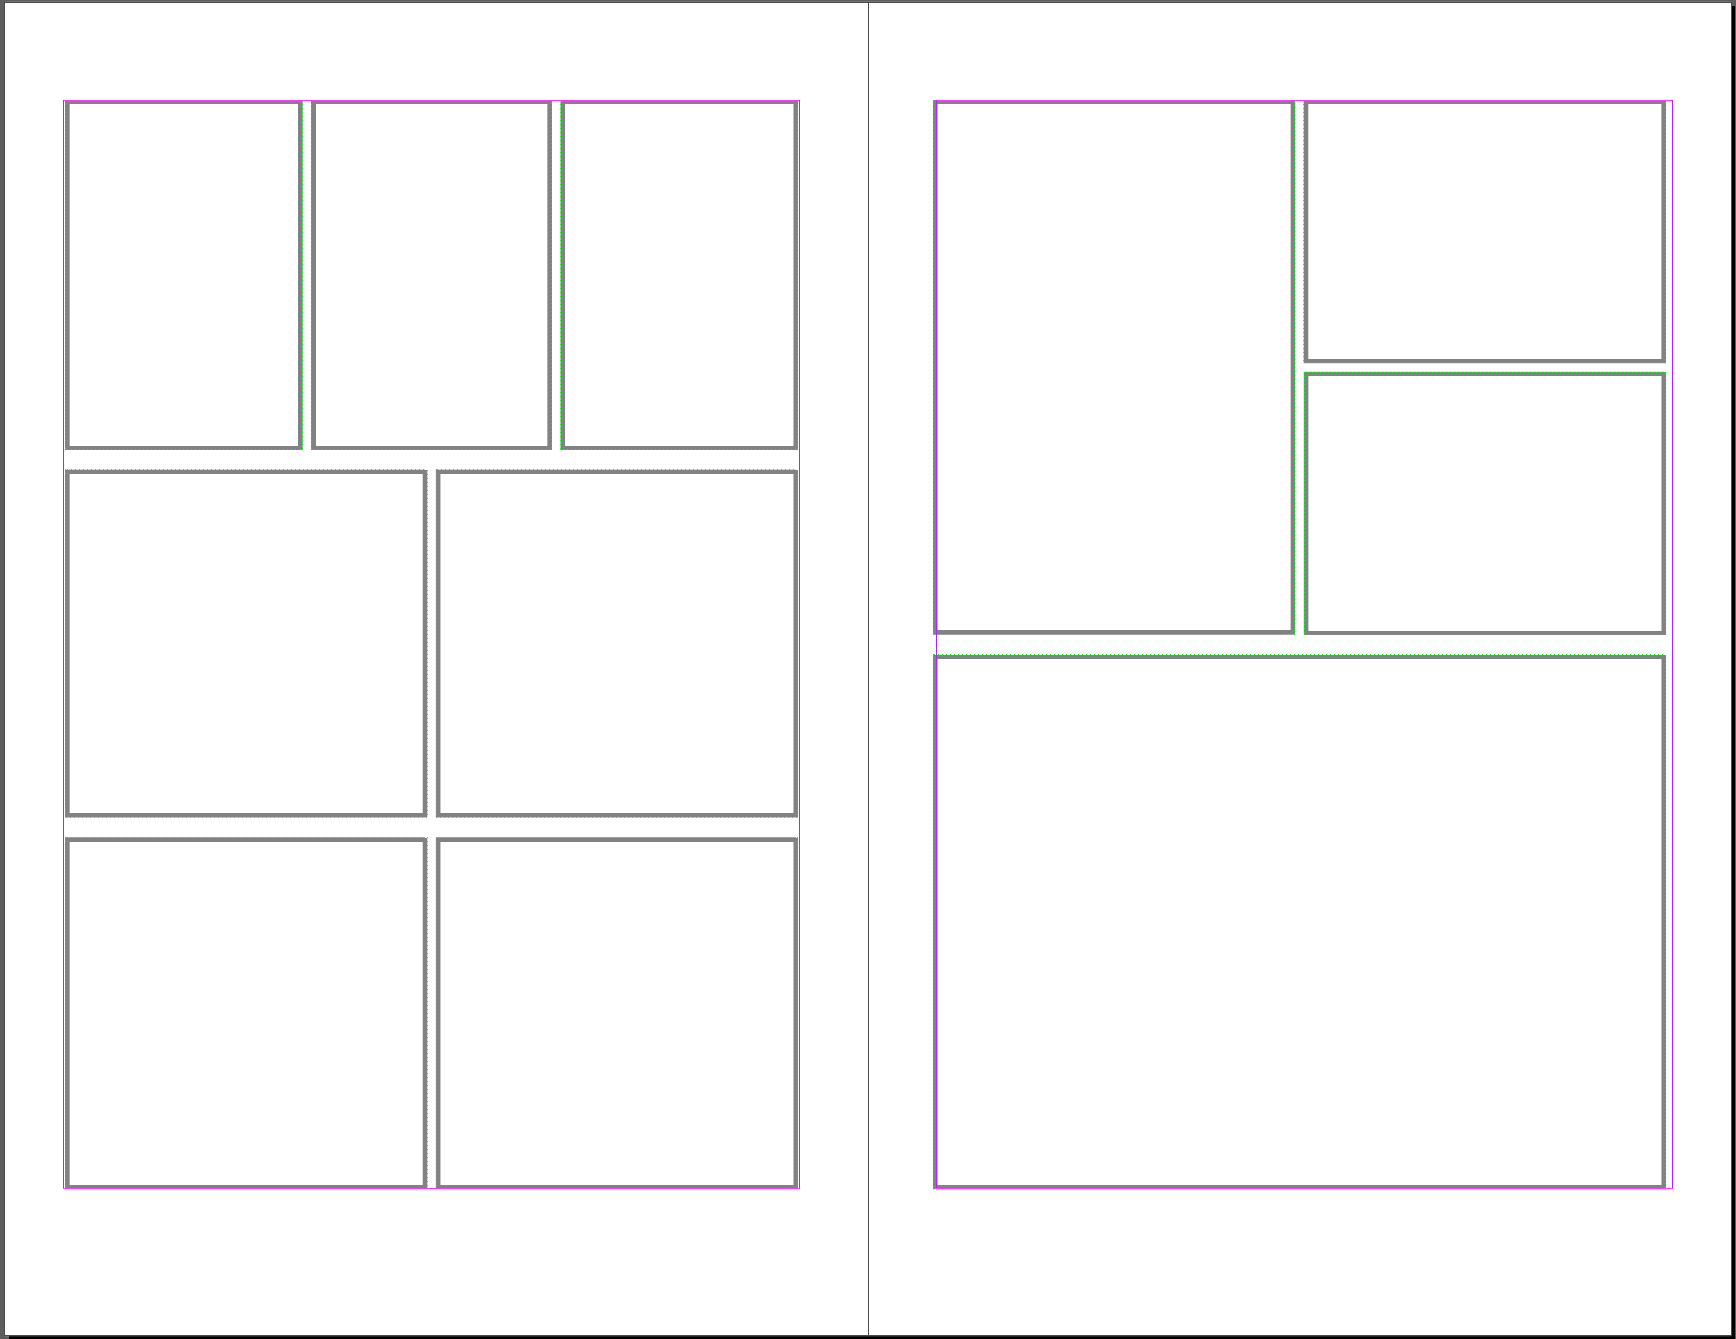
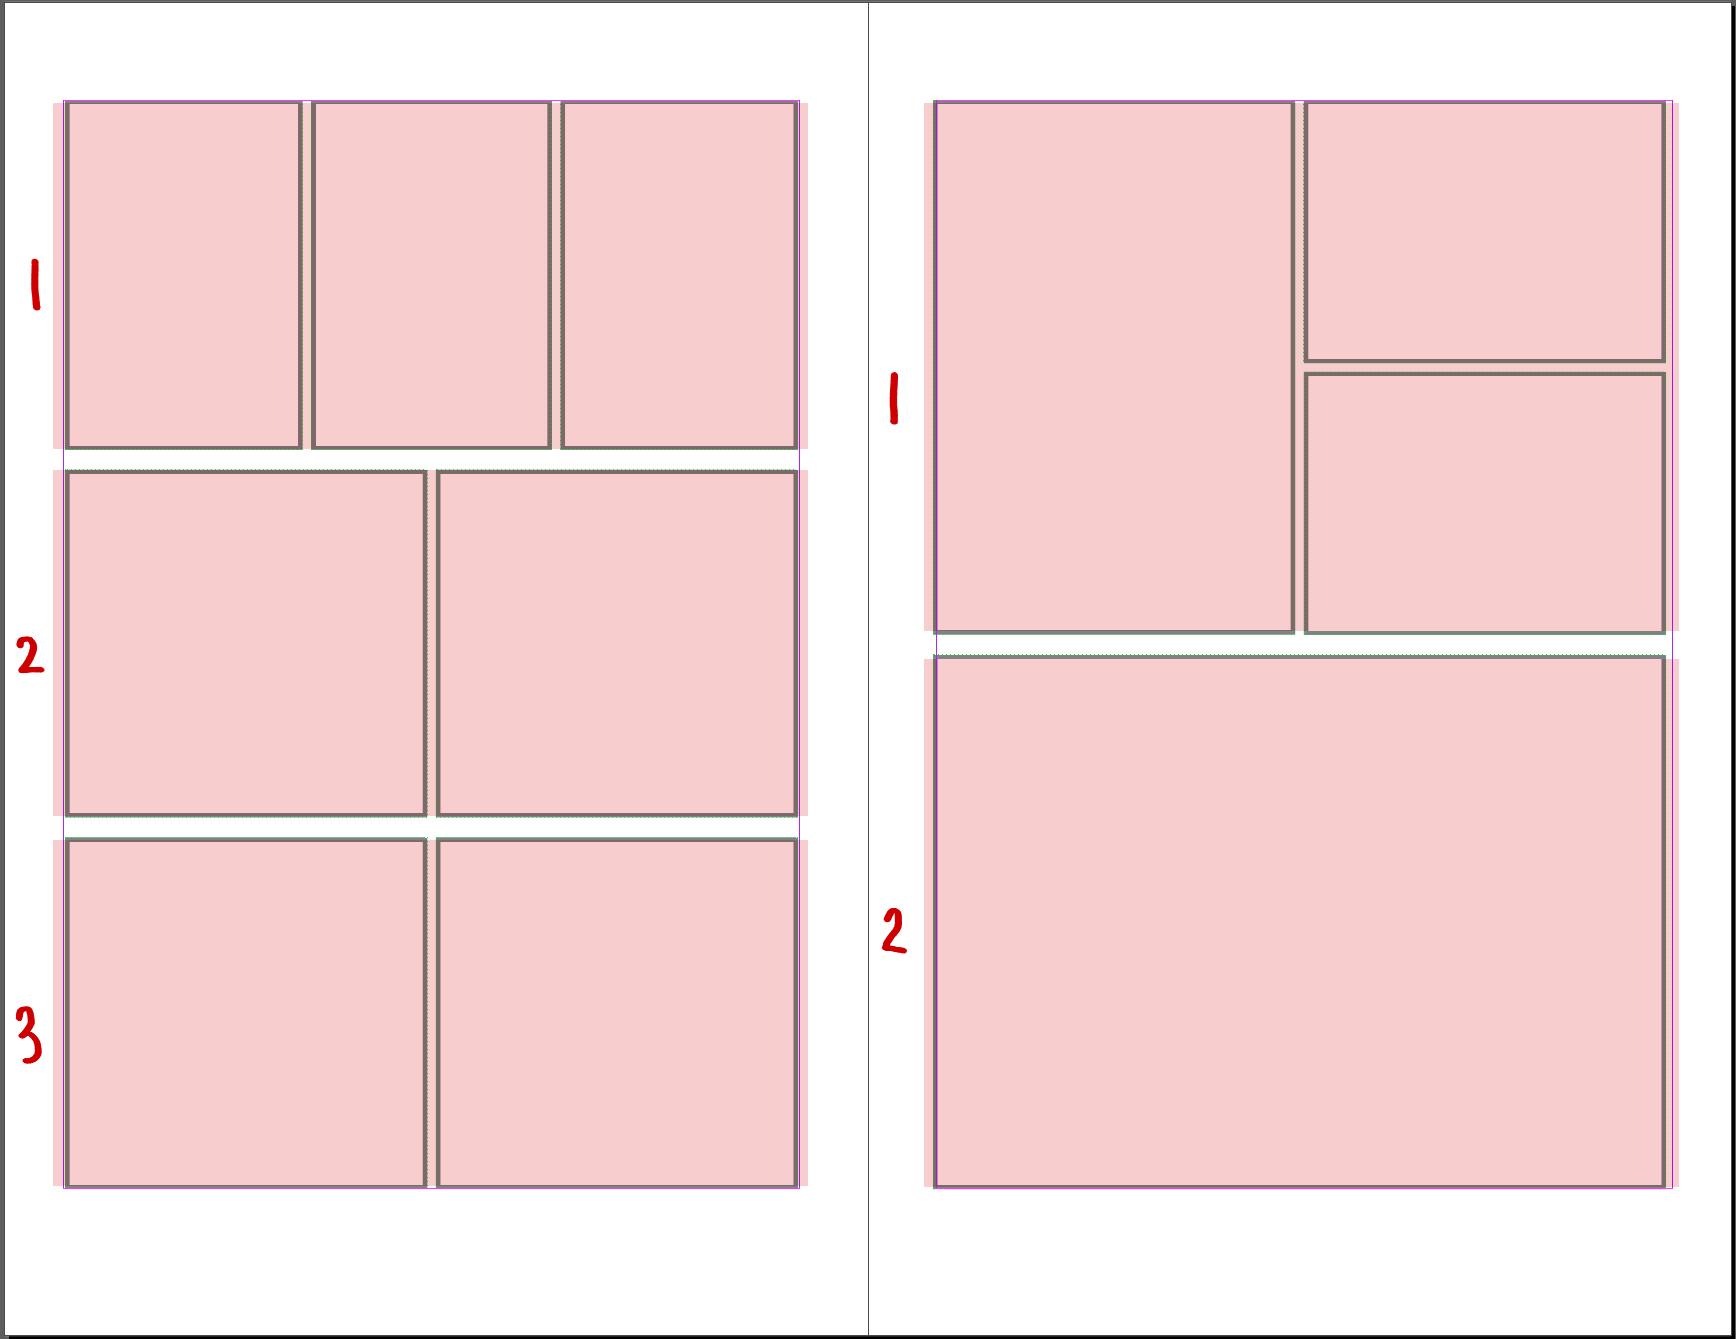
Between these two layouts, I usually have enough variations to tell my stories.
Now that we know a bit about paneling, let’s get started with the comic zine!
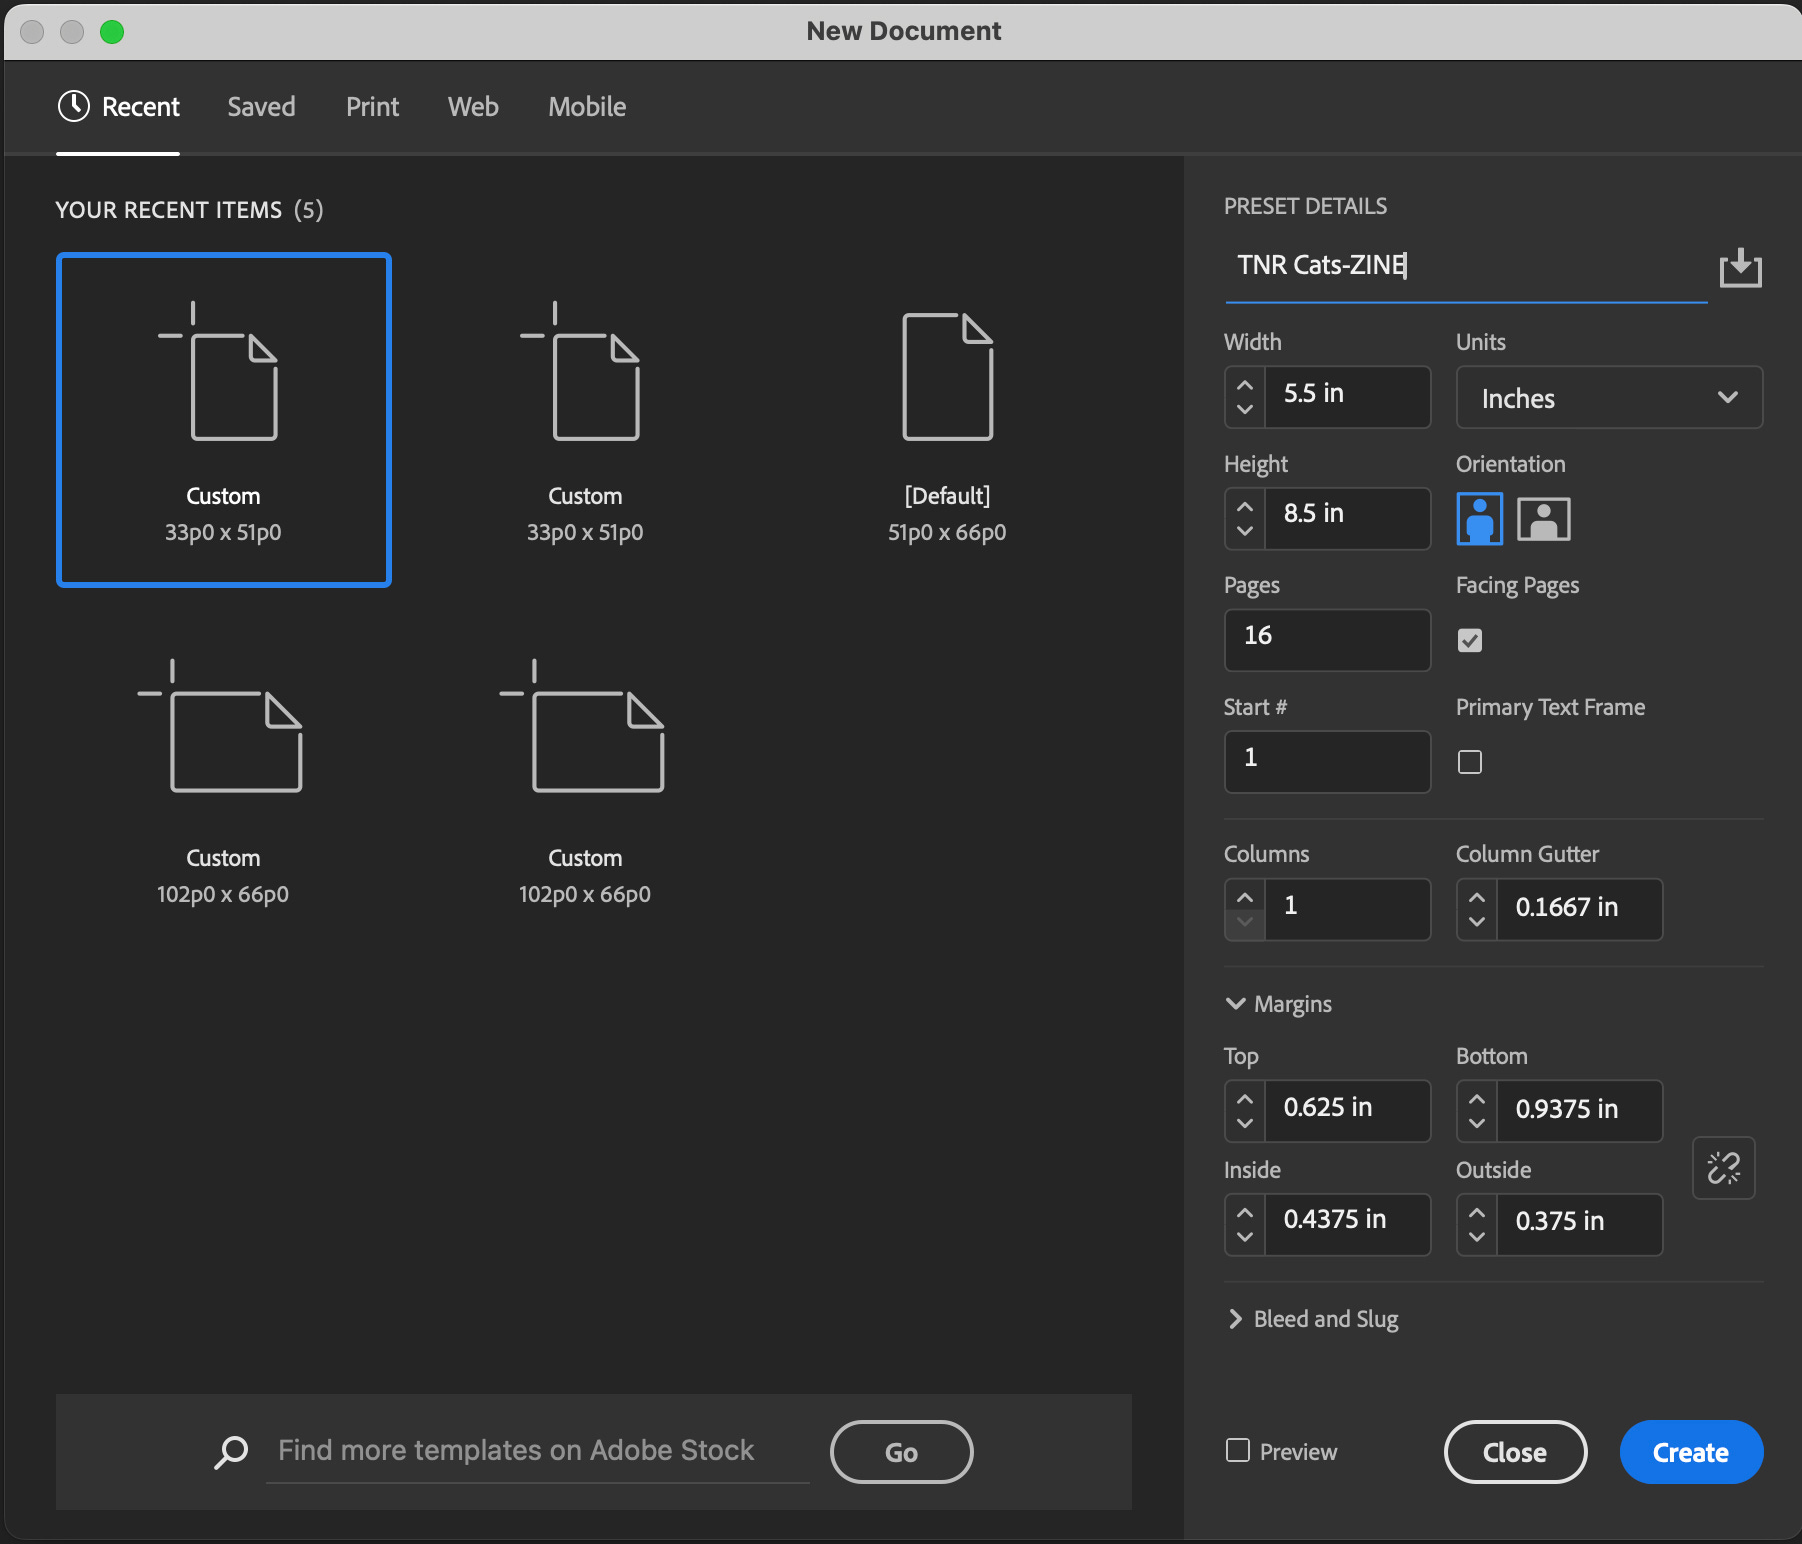
In Adobe InDesign, I created a 16-pages zine at 5.5 inches x 8.5 inches (That’s a US Letter size paper folded in half.)

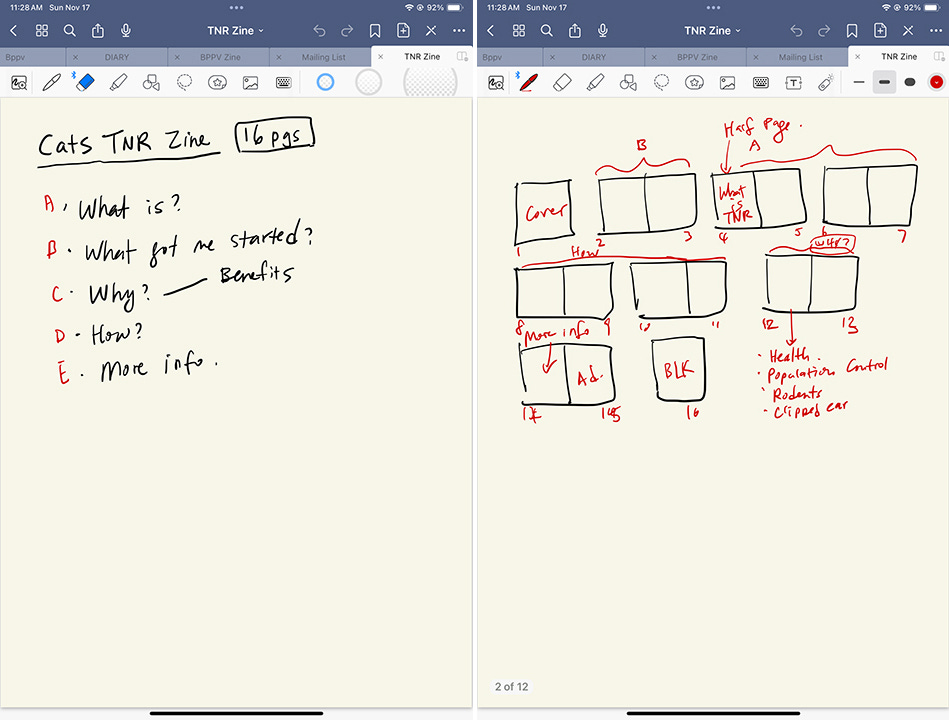
Based off the story structure I wrote in Goodnotes earlier…
I started writing the script (aka the story) on the according pages…
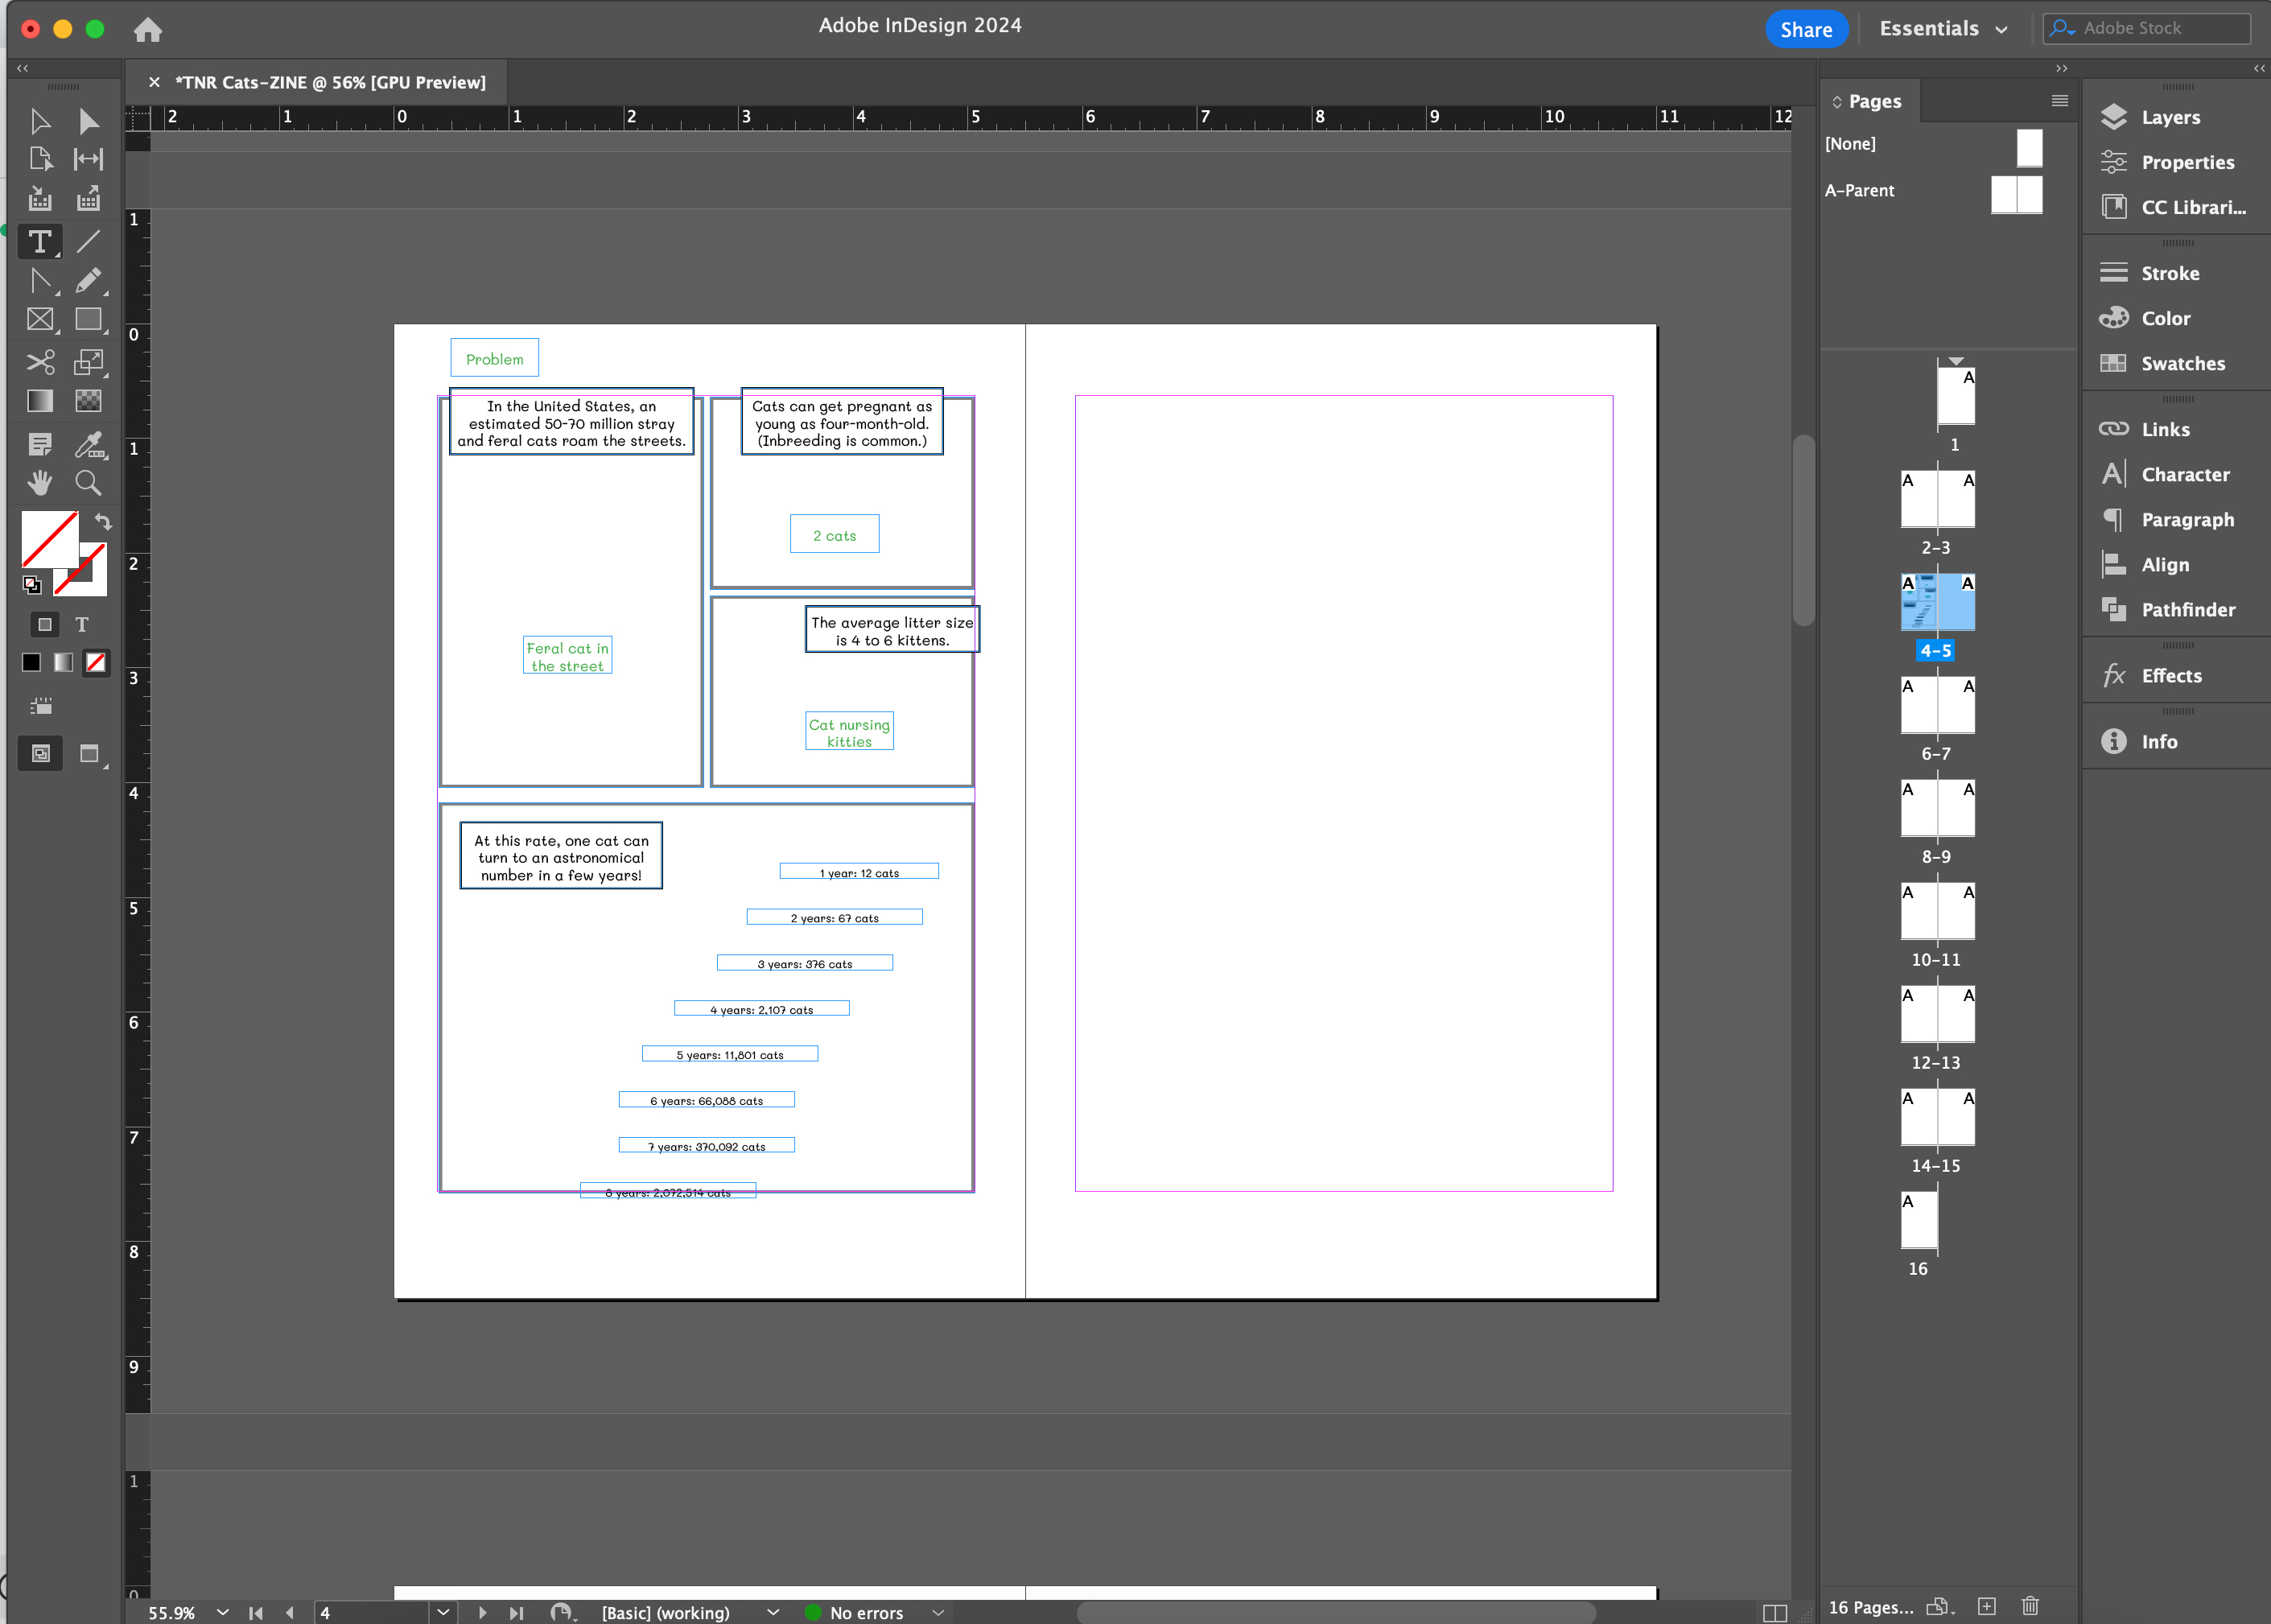
Because I was in InDesign, I had the freedom to move dialogues around as I saw fit.
And because I knew the approximate story structure, I tended to jump around when I wrote. For me, story writing is not linear.

Another thing I did was to write visual notes in a different color.
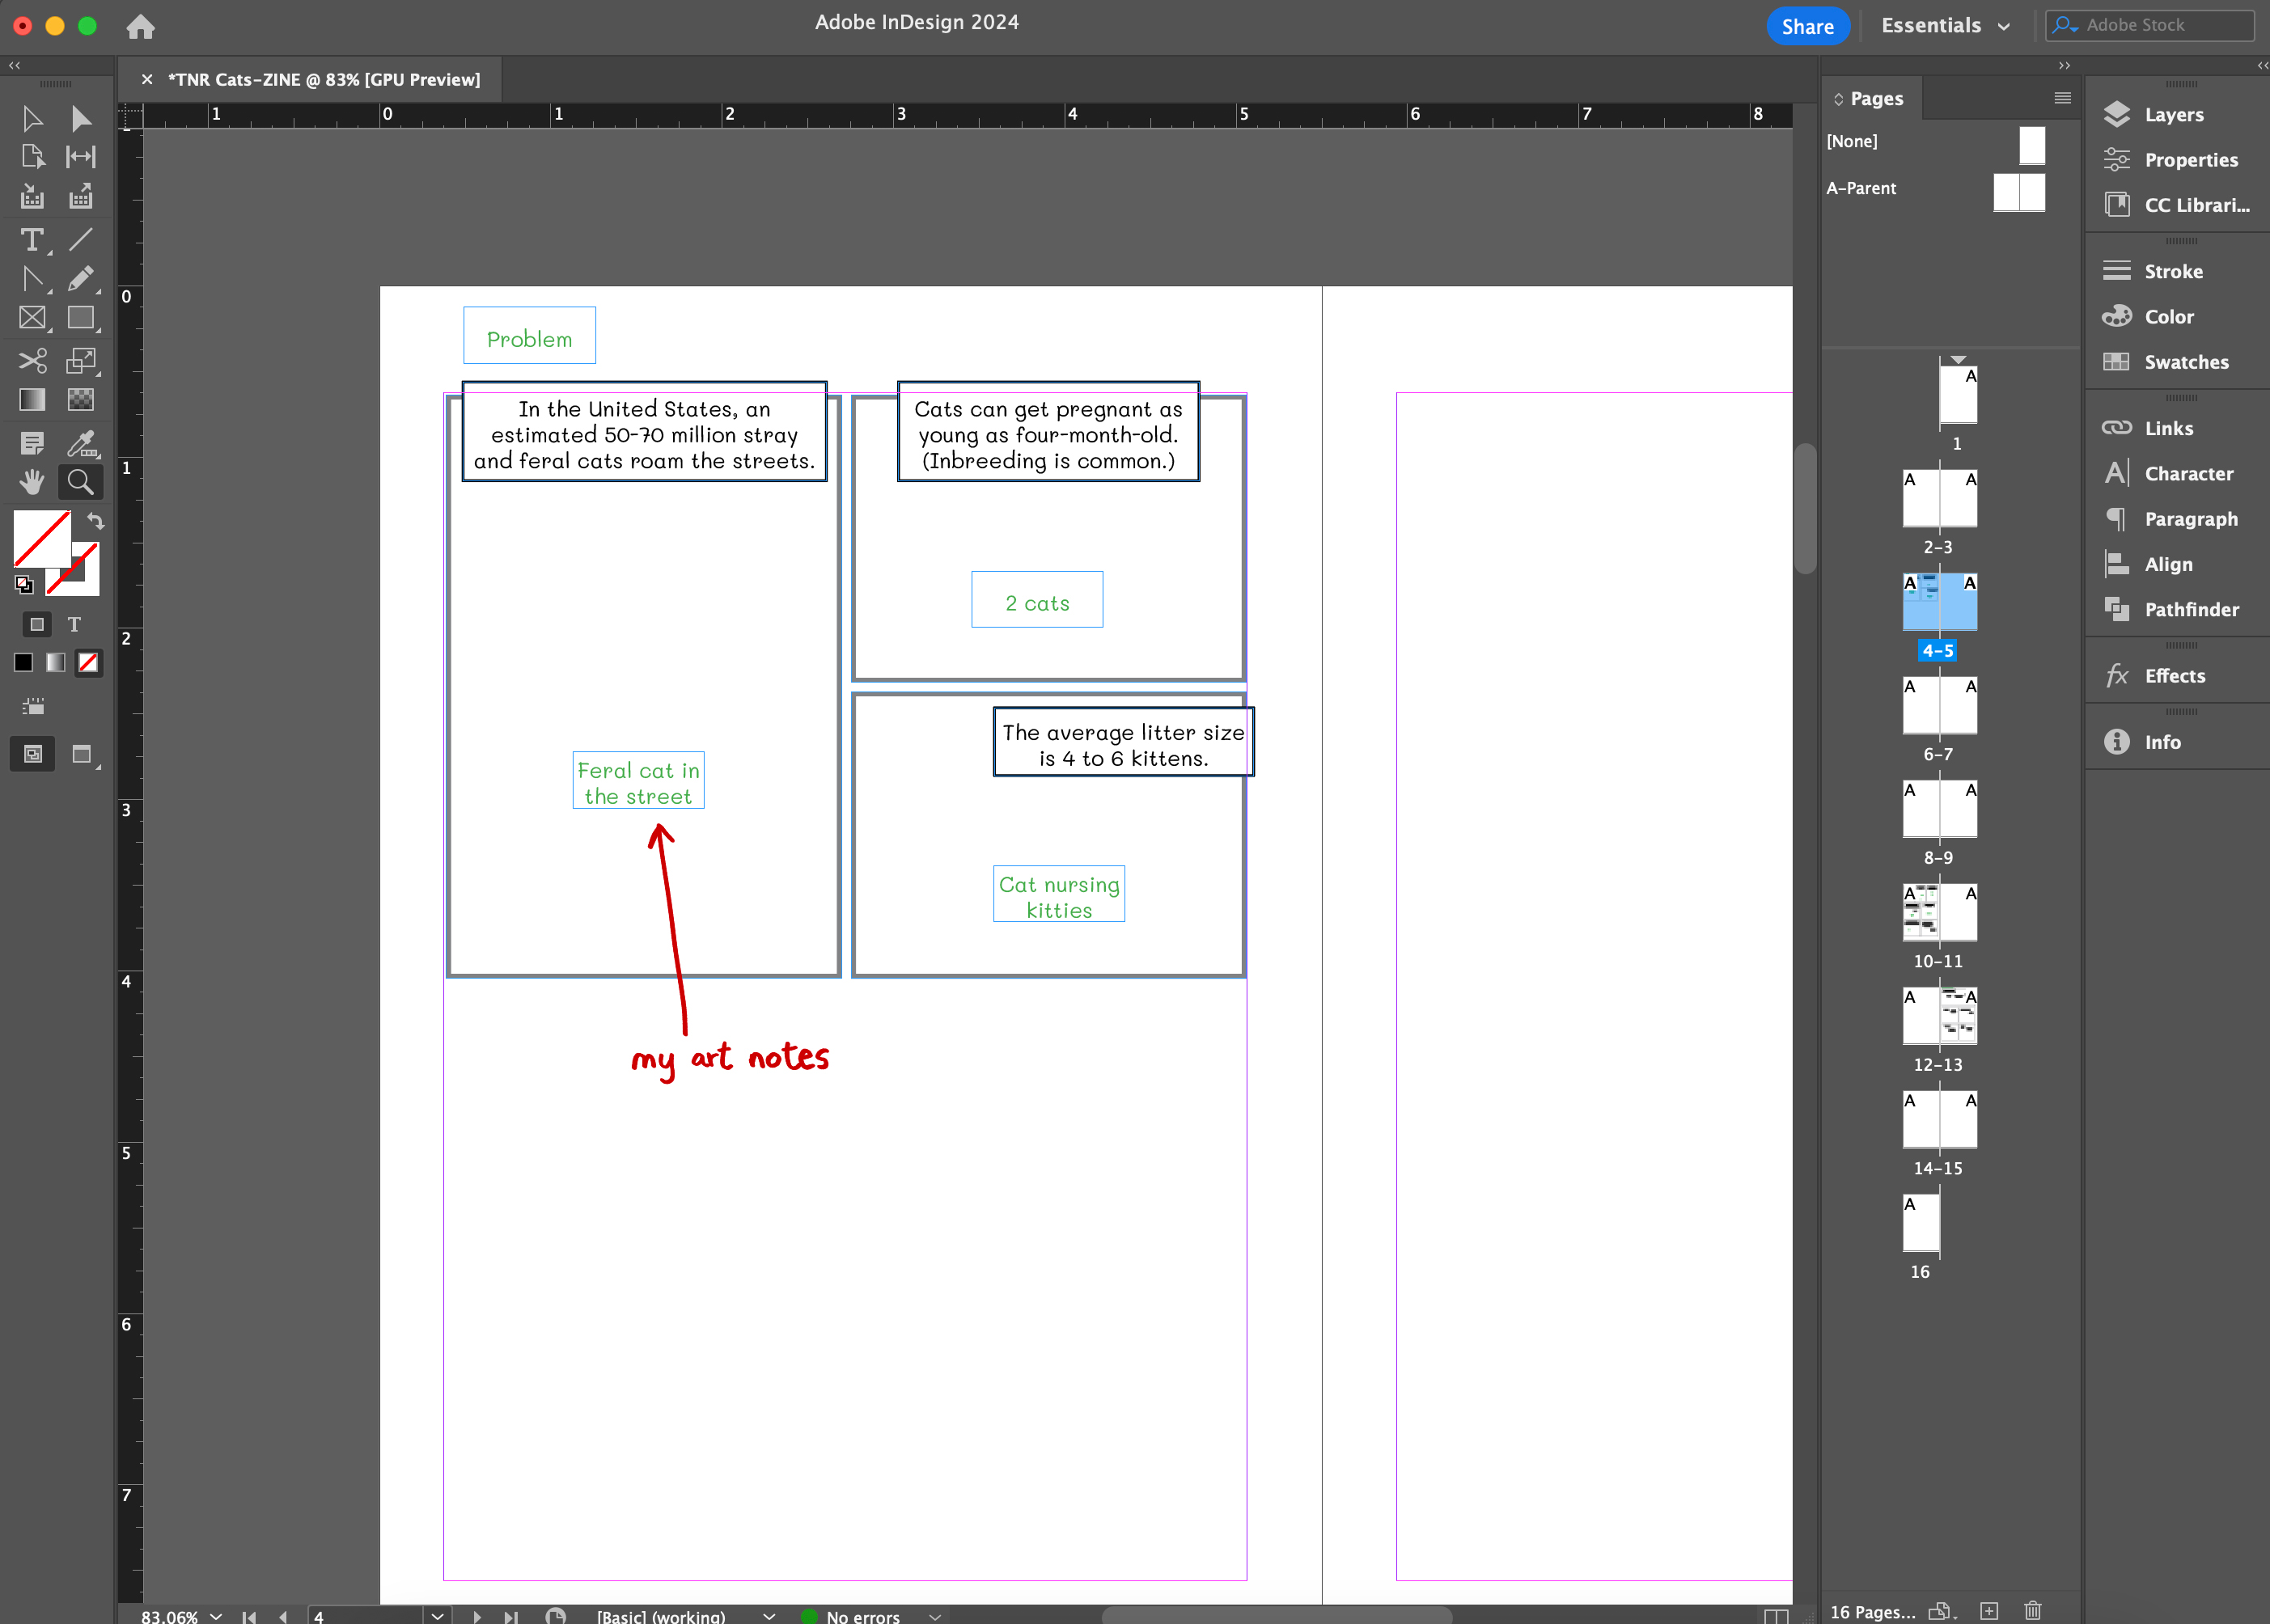
Since I would be illustrating the book, these notes were very rough. They were just reminders I gave myself, in case future-me had forgotten what I had in mind. (This was unlikely in a 16-page comic, as I would most likely remember what I had in mind. But when I worked on a 200+ pages graphic novel, these notes became essential.)
In the end, my InDesign file looked something like this…
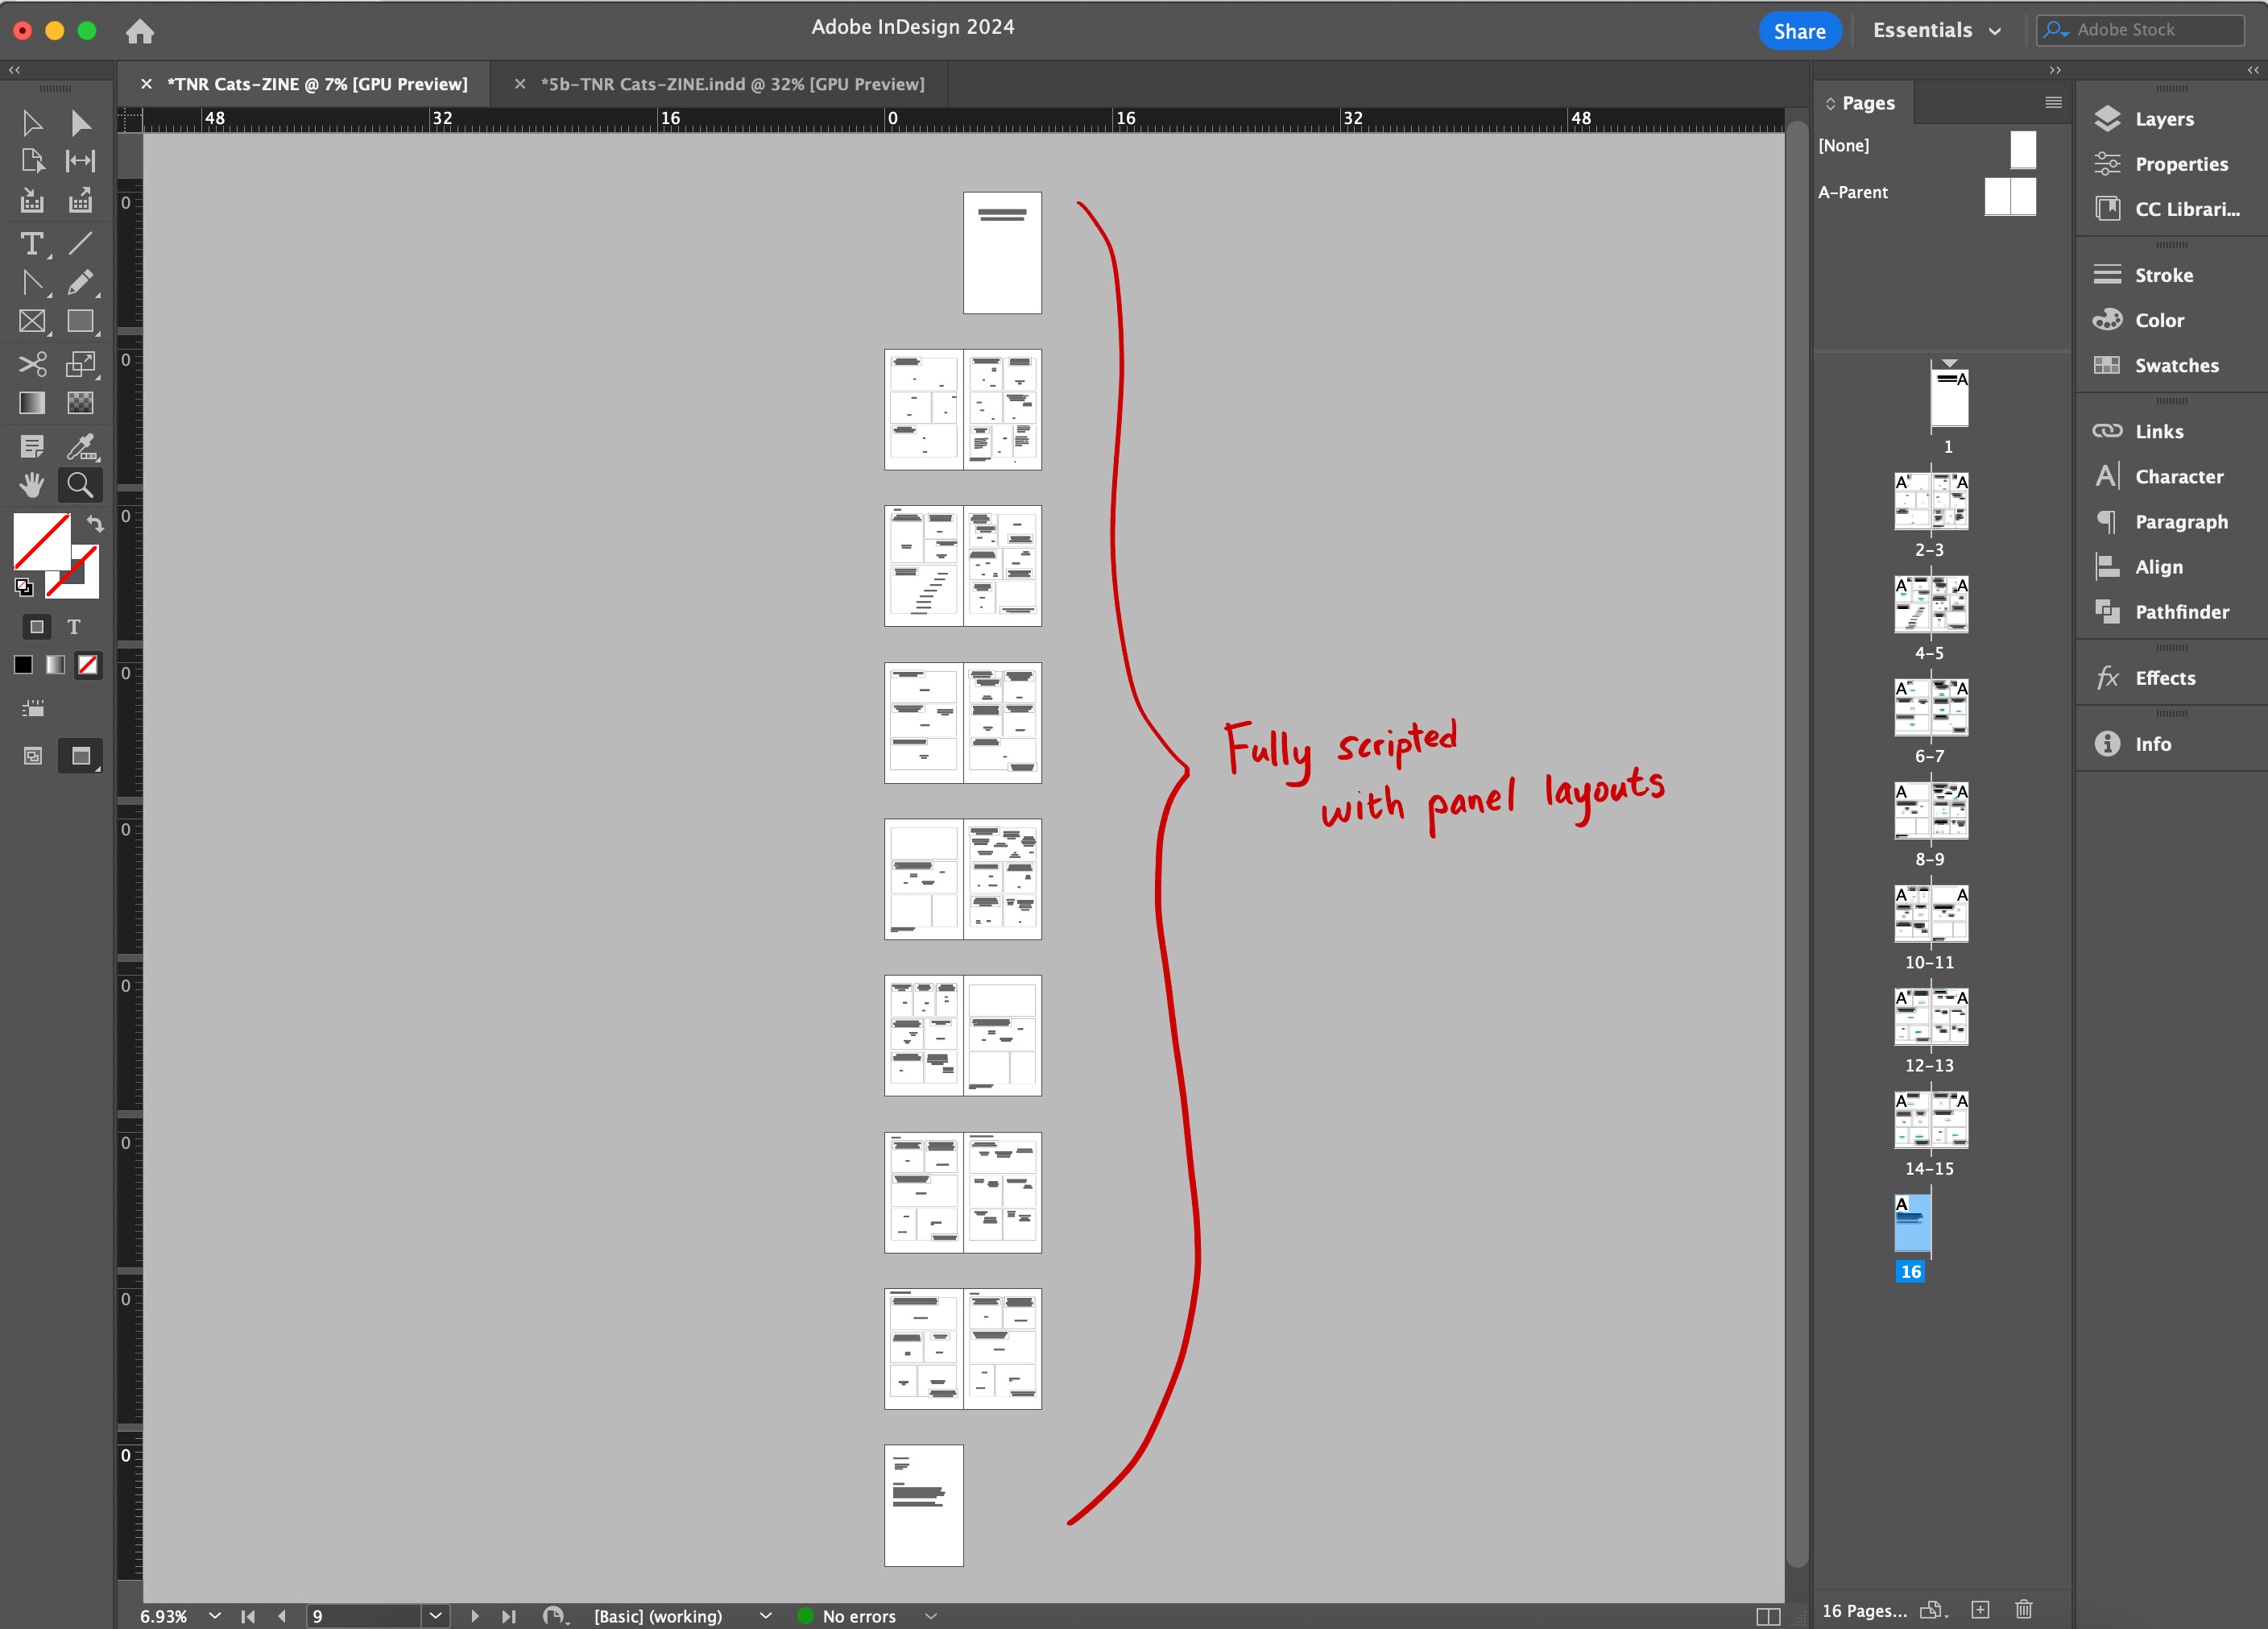
Now that I had all 16-pages written and paneled out, I could move on to the illustration part.
Stay tune for my next step!
—
UPCOMING EVENT
SCBWI New York Metro Virtual Workshop
December 10th, 2024 (Tuesday) 7:30-9:00pm EST

Do you have ideas for a graphic novel story? Do you wonder how to pitch your dream project to an agent or a publisher? In this online workshop, I will teach you how to put together a great pitch for your next graphic novel.
Price: $20
Price if you are SCBWI member: $15
Register today: https://tinyurl.com/SCBWI-MapleLam-2024Workshop
—
How do you write your comics and graphic novels? How do you ensure you stay within the page limits, and how do you do the panel layouts? Comment below! I would love to learn from other creatives!
great info on paneling! thanks!
Cool!