


Comic Zine (Part 4) - From Adobe InDesign to Adobe Fresco
Technical steps of how I created my comic zine.

(This post is part of a series. For previous posts on comic zine creation, check out Part 1, Part 2, and Part 3.)
Last time, I mentioned how I wrote and designed panel layouts in Adobe InDesign.
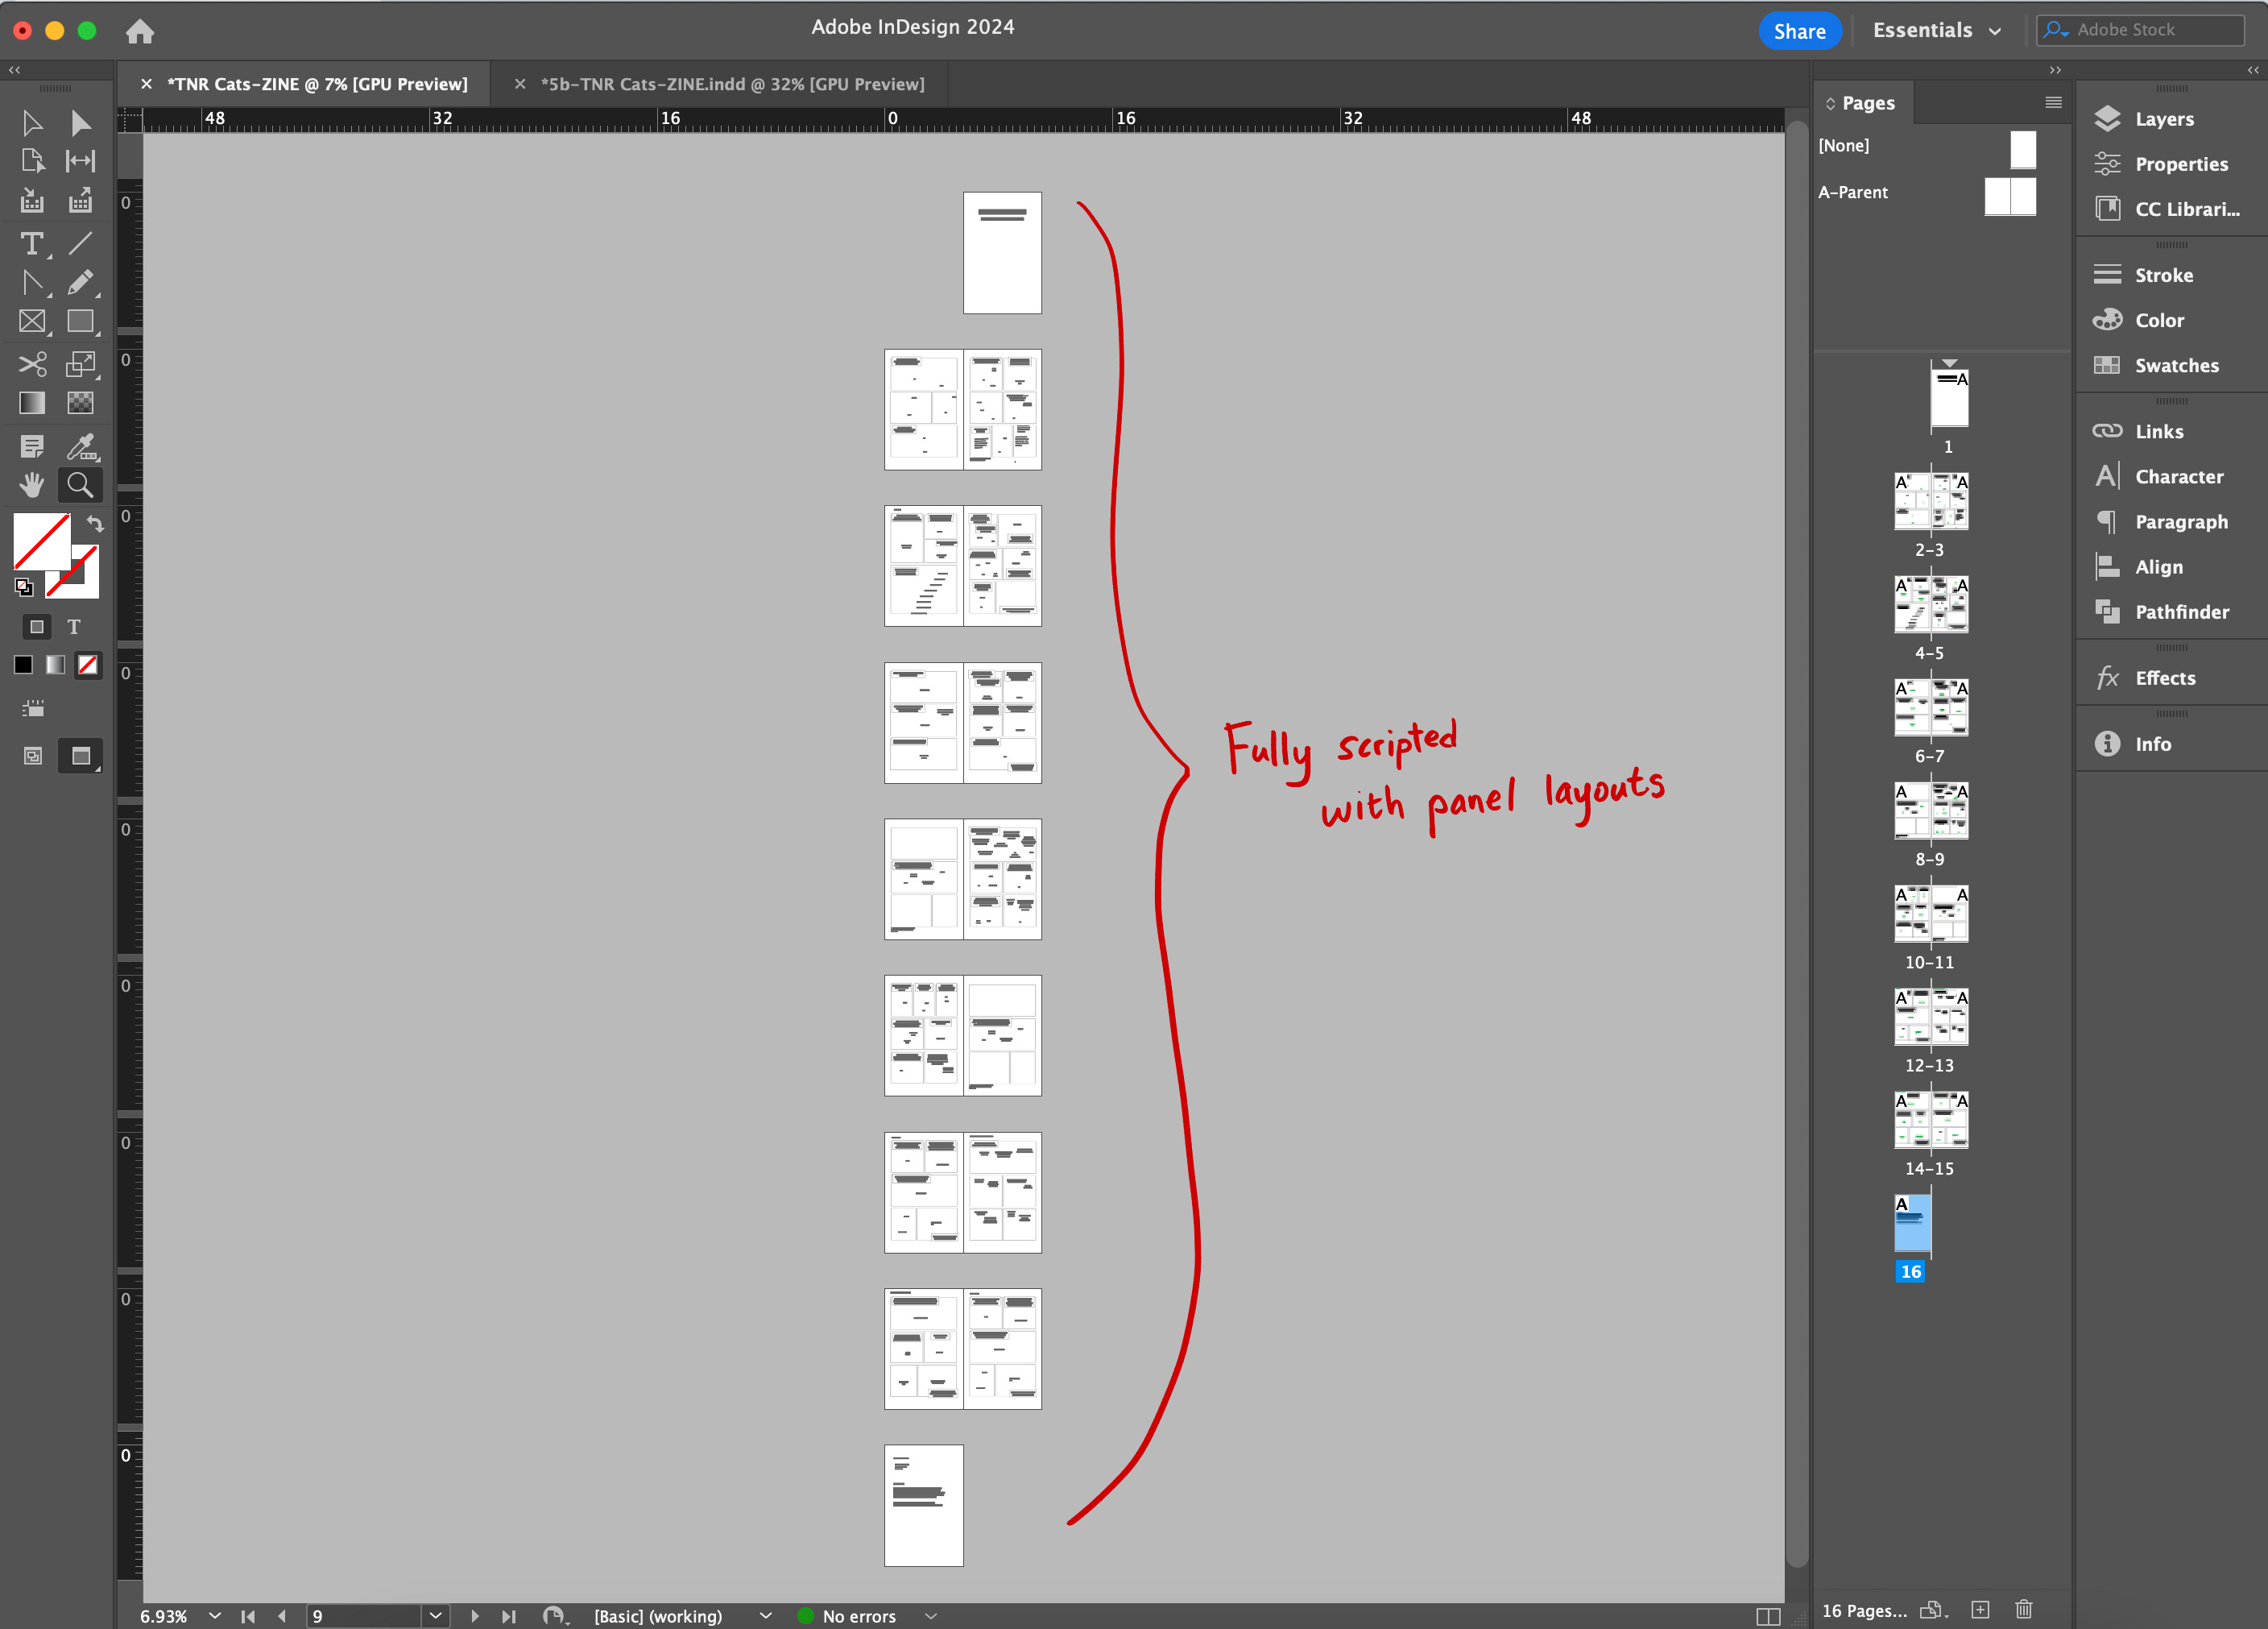
Now that I have the base structure, it’s time for illustration! (aka my jam.)
First, I copied (Command+C) the all the elements of the page from InDesign…
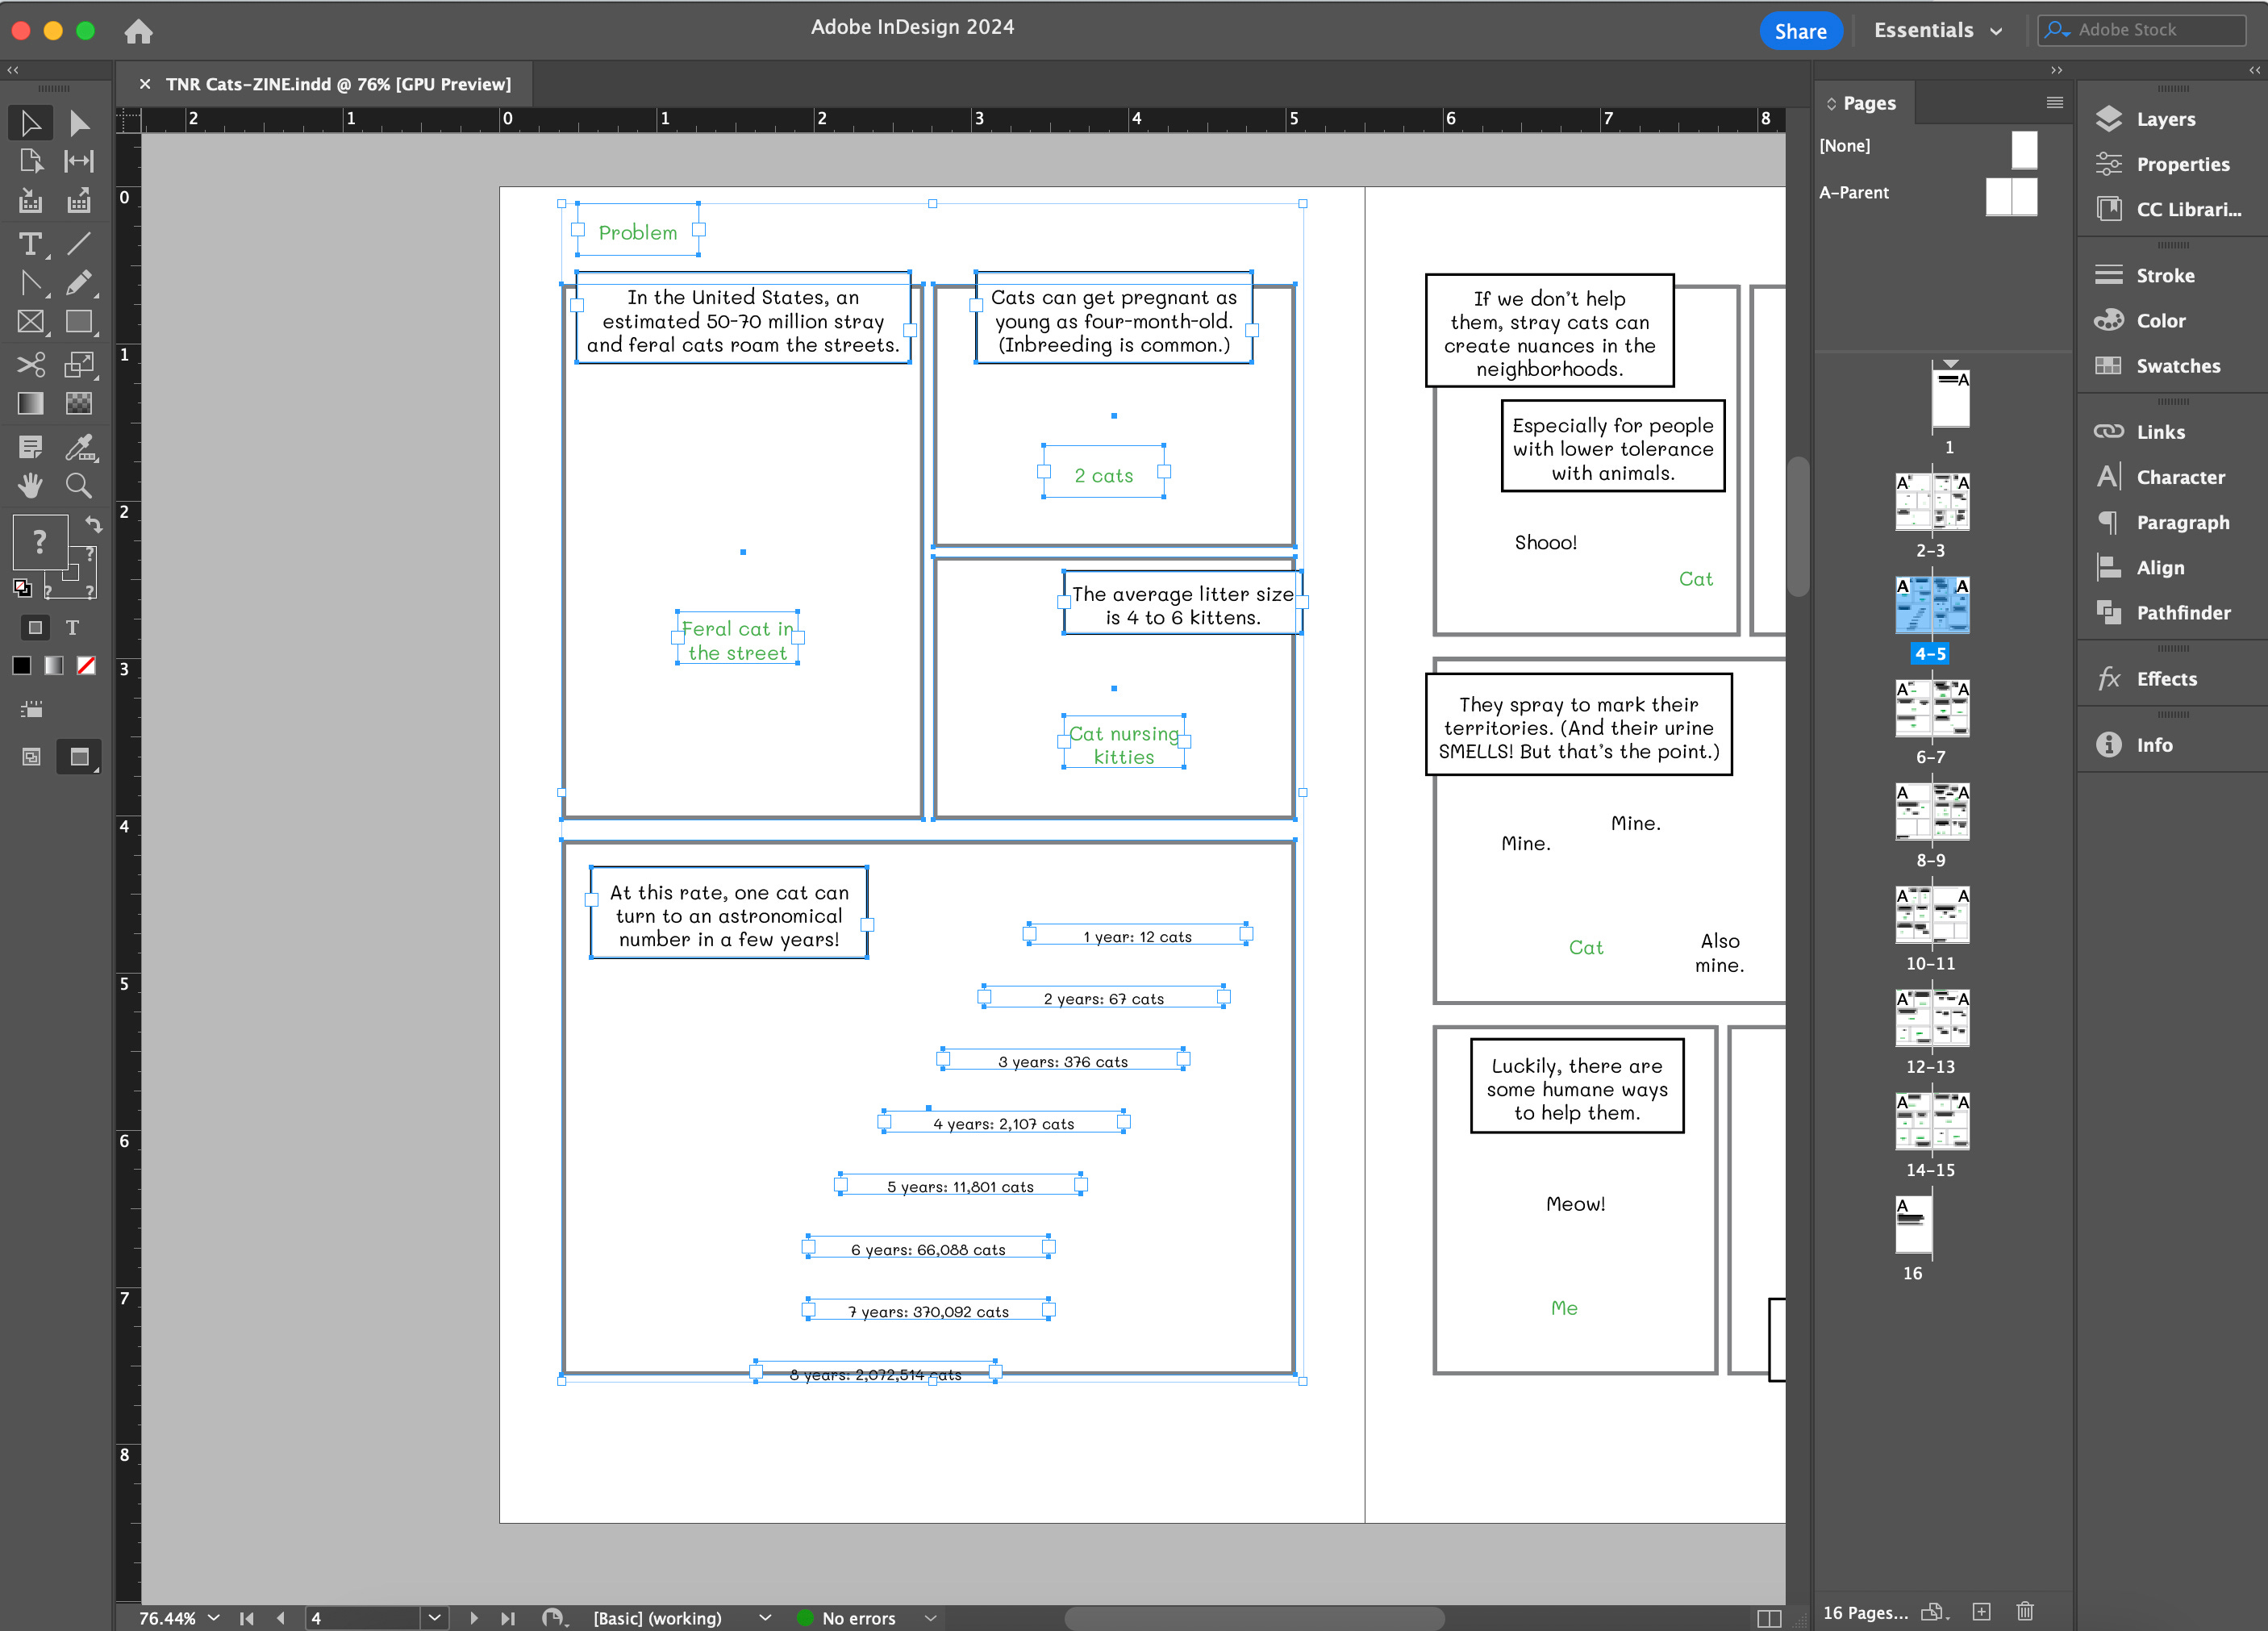
Then, I pasted (Command+V) them in Adobe Photoshop.

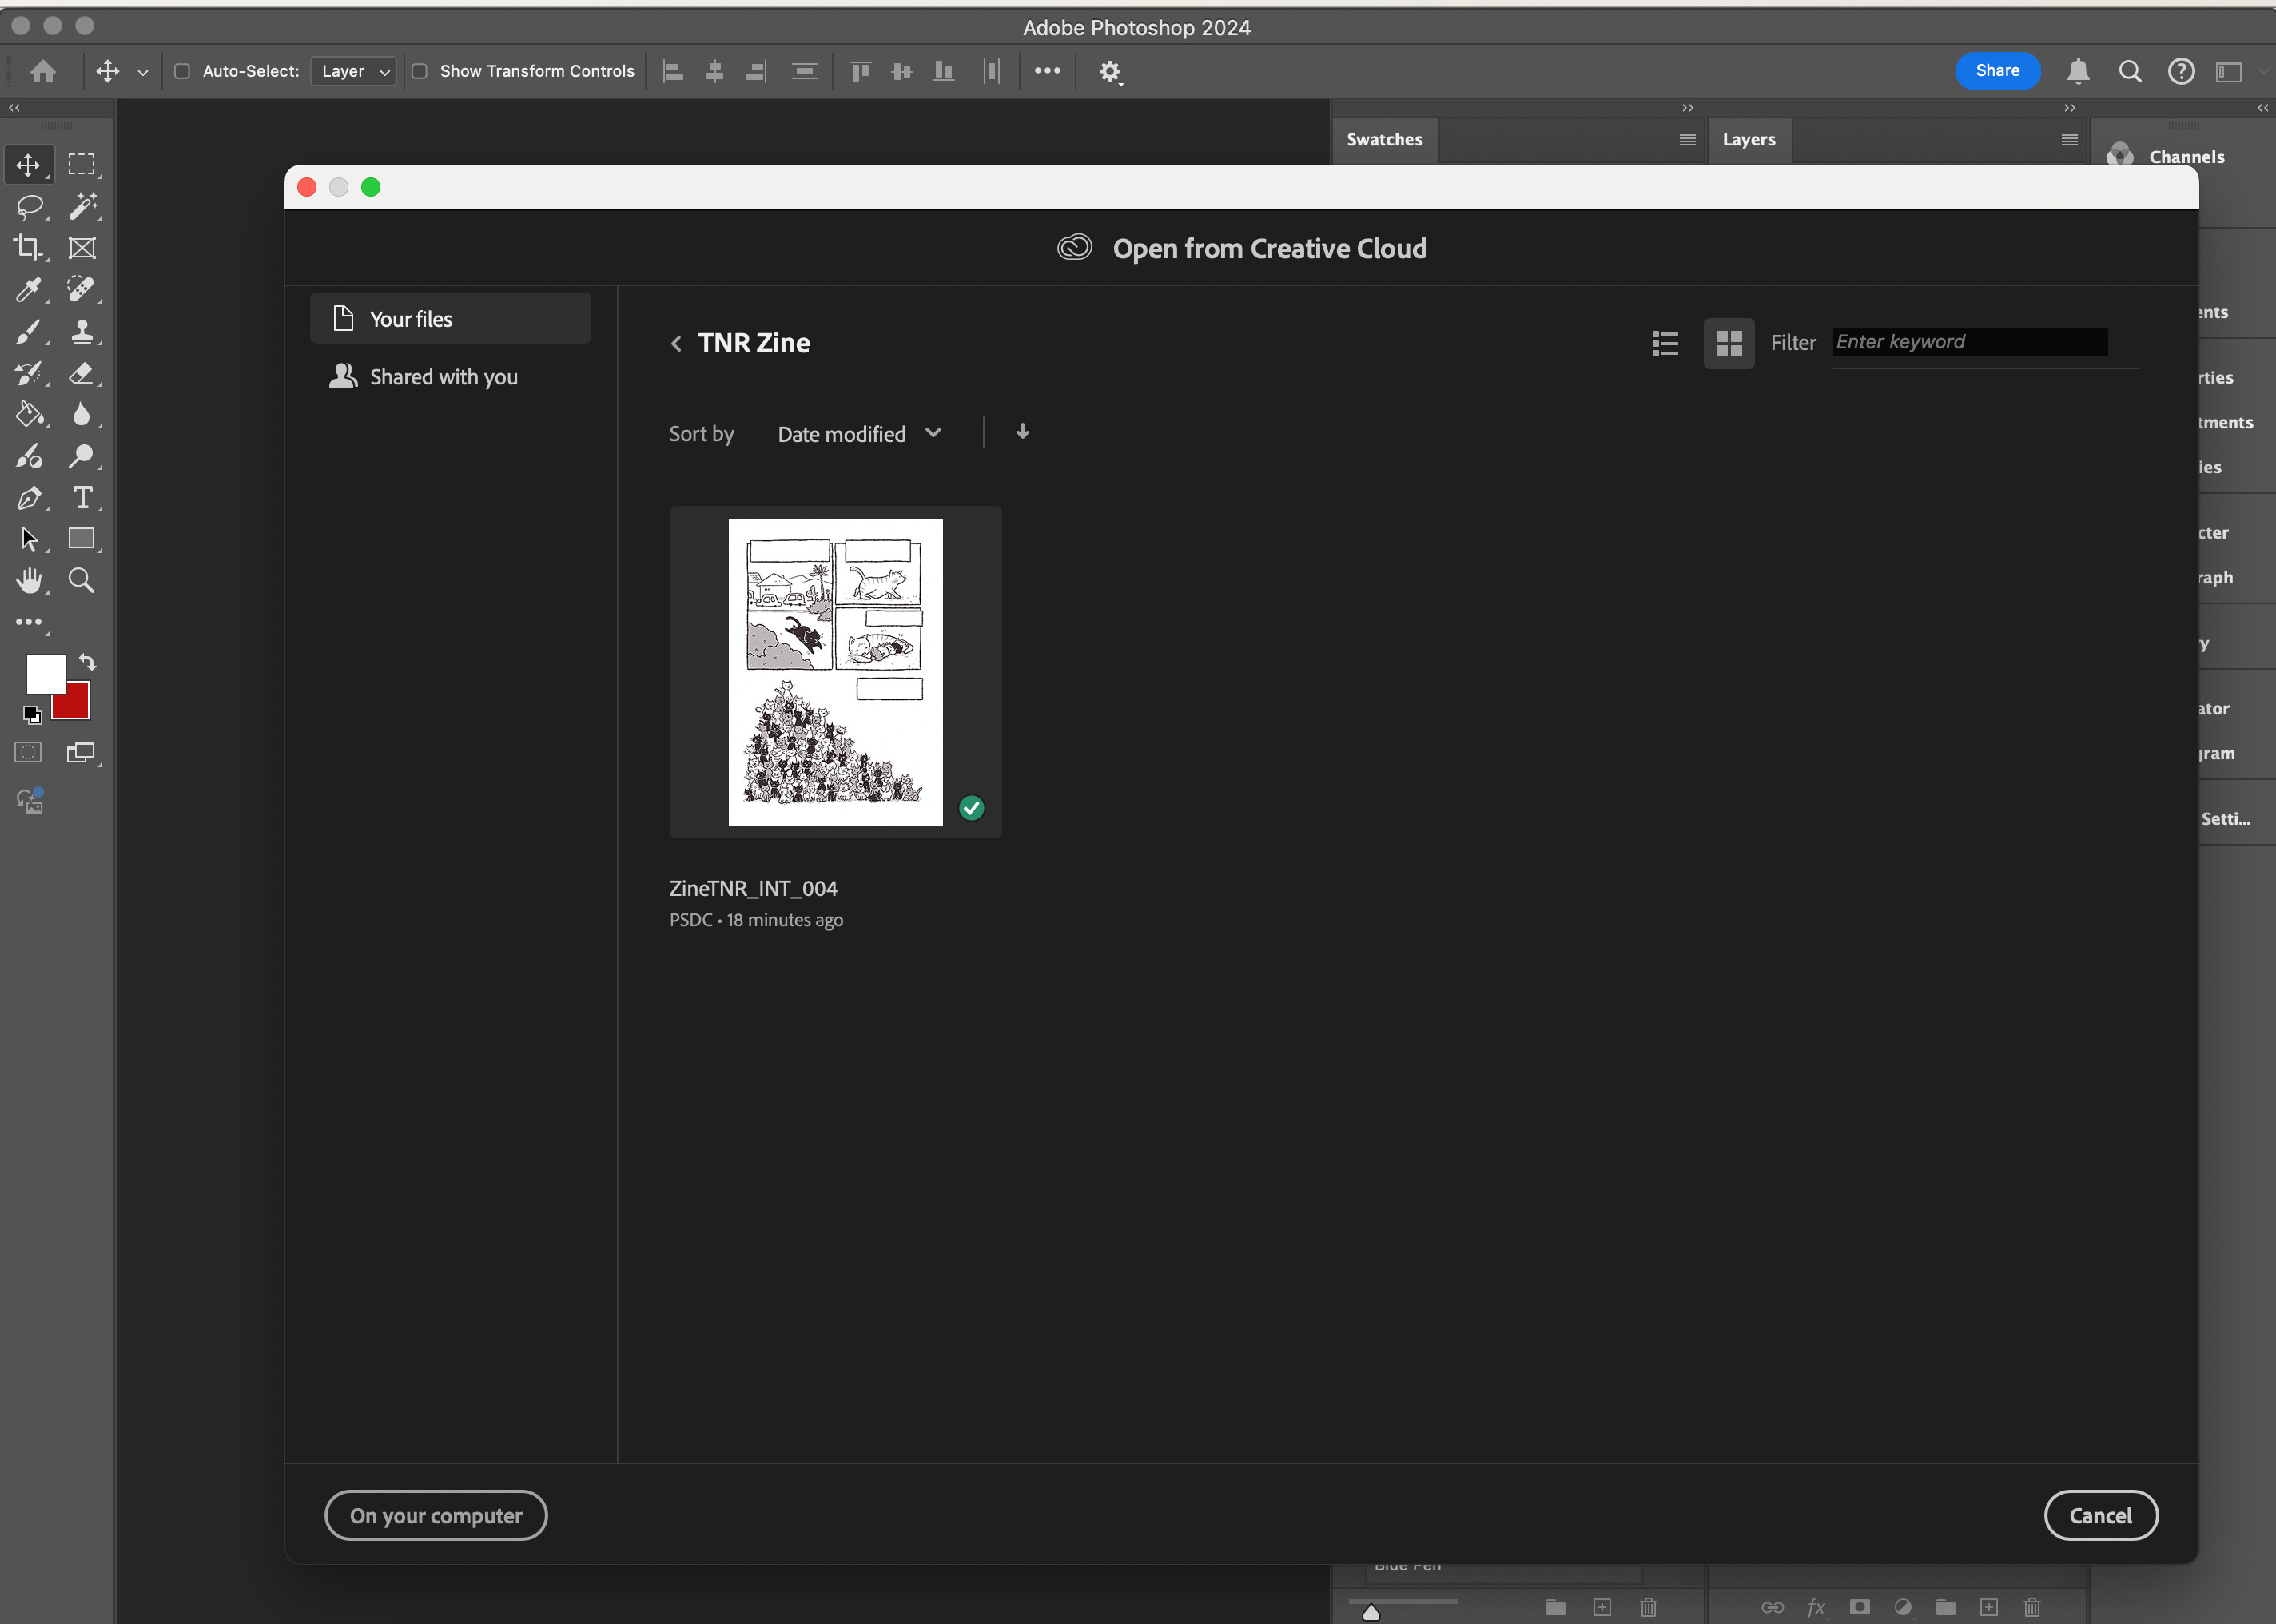
If I were working from home, I would start illustrating with Adobe Photoshop on my Cintiq. But I was on the road and had tools limitations. So, I decided to try out Adobe Fresco on my iPad mini.
Which meant I would save the file on Adobe Cloud.

Note: With comics, because we are dealing with a lot of pages, I always make sure I name the files correctly. For example, this page is page 4 of the comic, so I named the file “ZineTNR-INT-004.psd”. (Because this is a comic zine, I started the file name with “Zine”. “TNR” is the title of my comic zine. “INT” means this is part of the interior pages. “004” is the page number.)
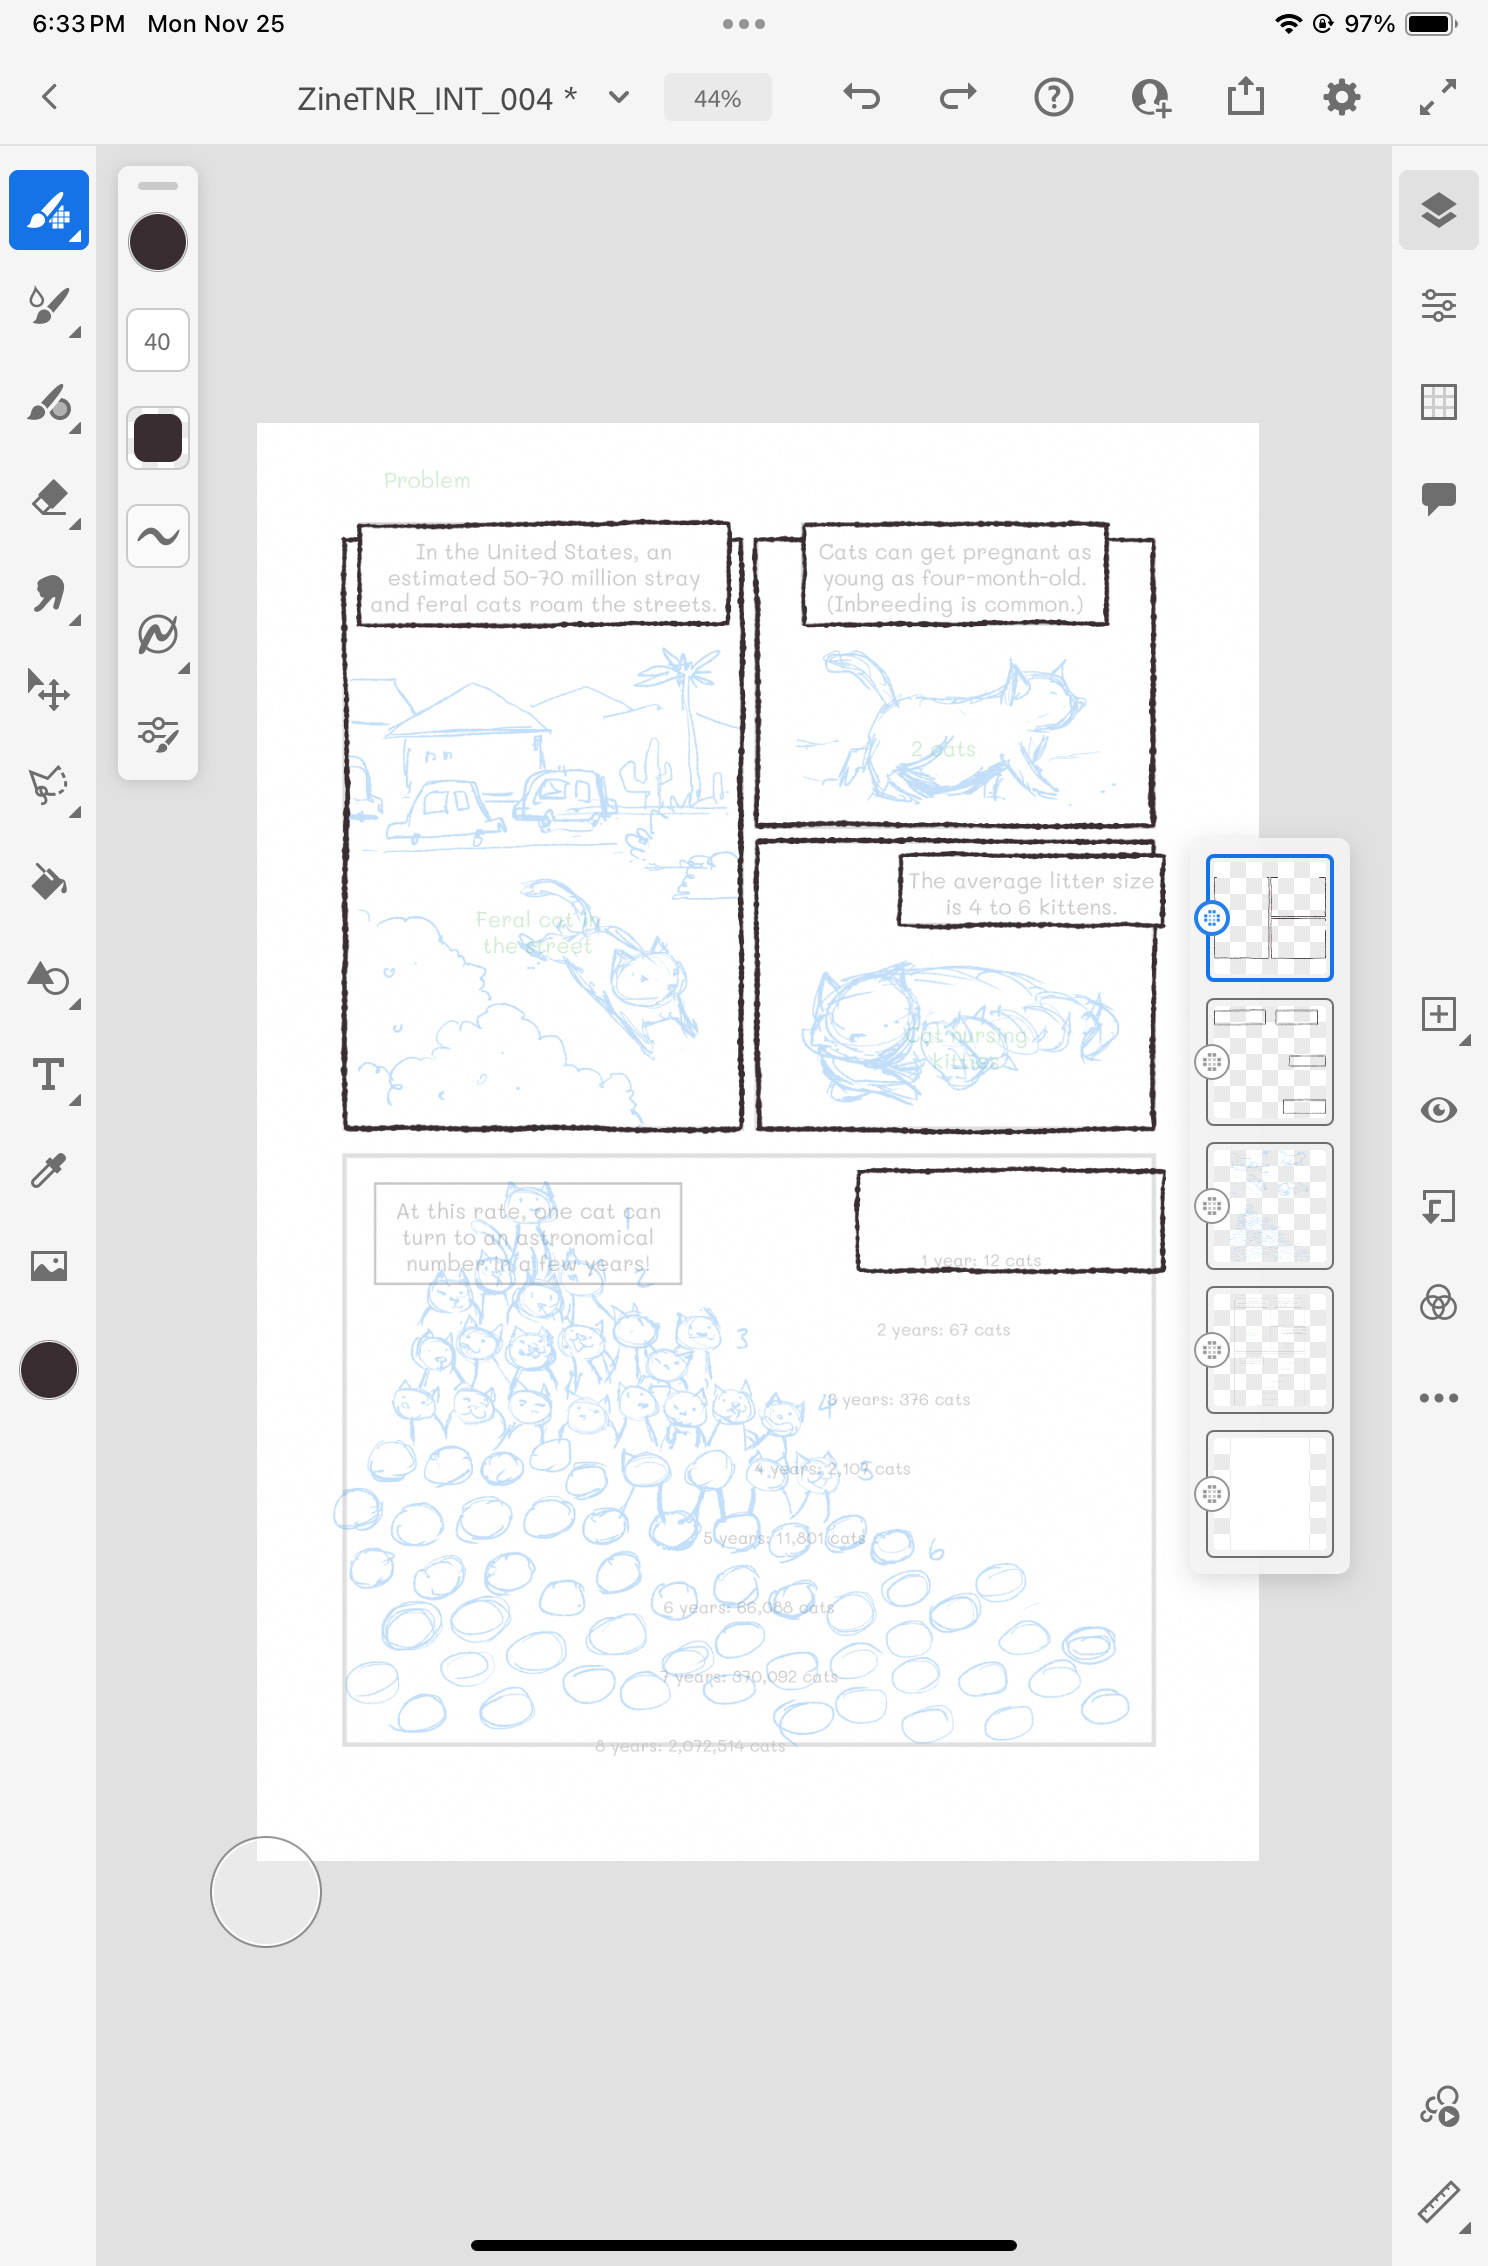
Now that the file is on Adobe Cloud, I could grab my iPad Mini and open the file in Adobe Fresco.

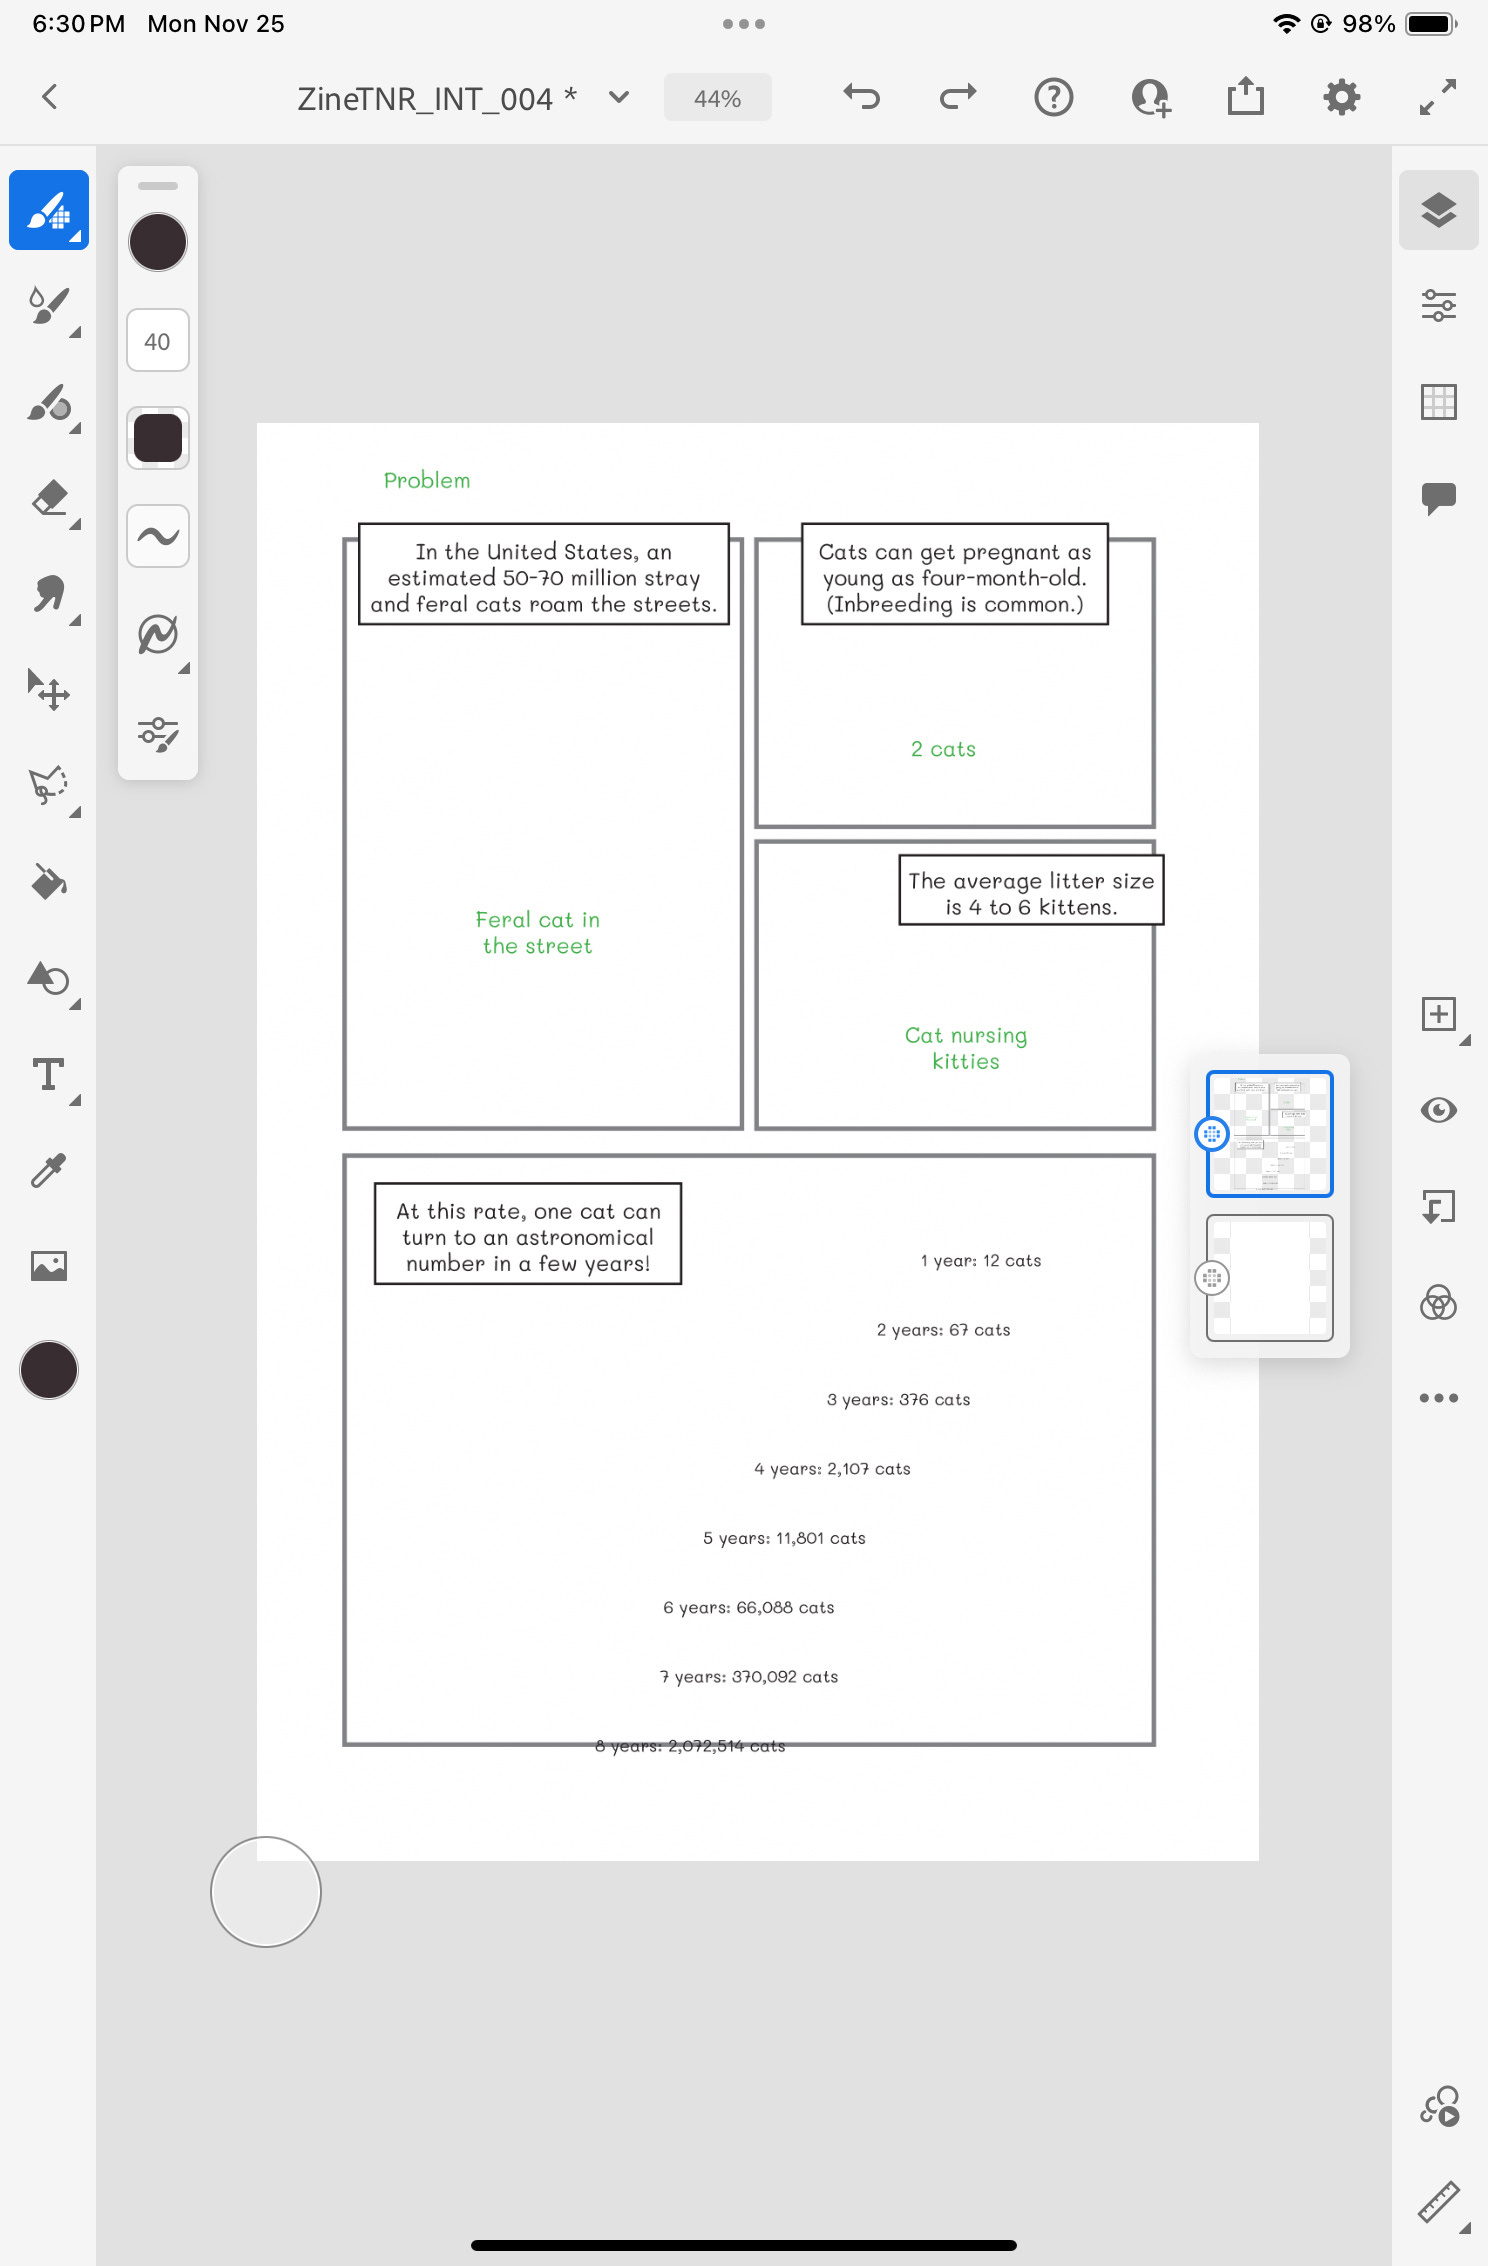
For this project, I want to give the panel frames a more personal touch, so I decided to hand-draw them instead of using the original panel frames created in InDesign.
On a new layer in Adobe Fresco, I traced the panel frames.
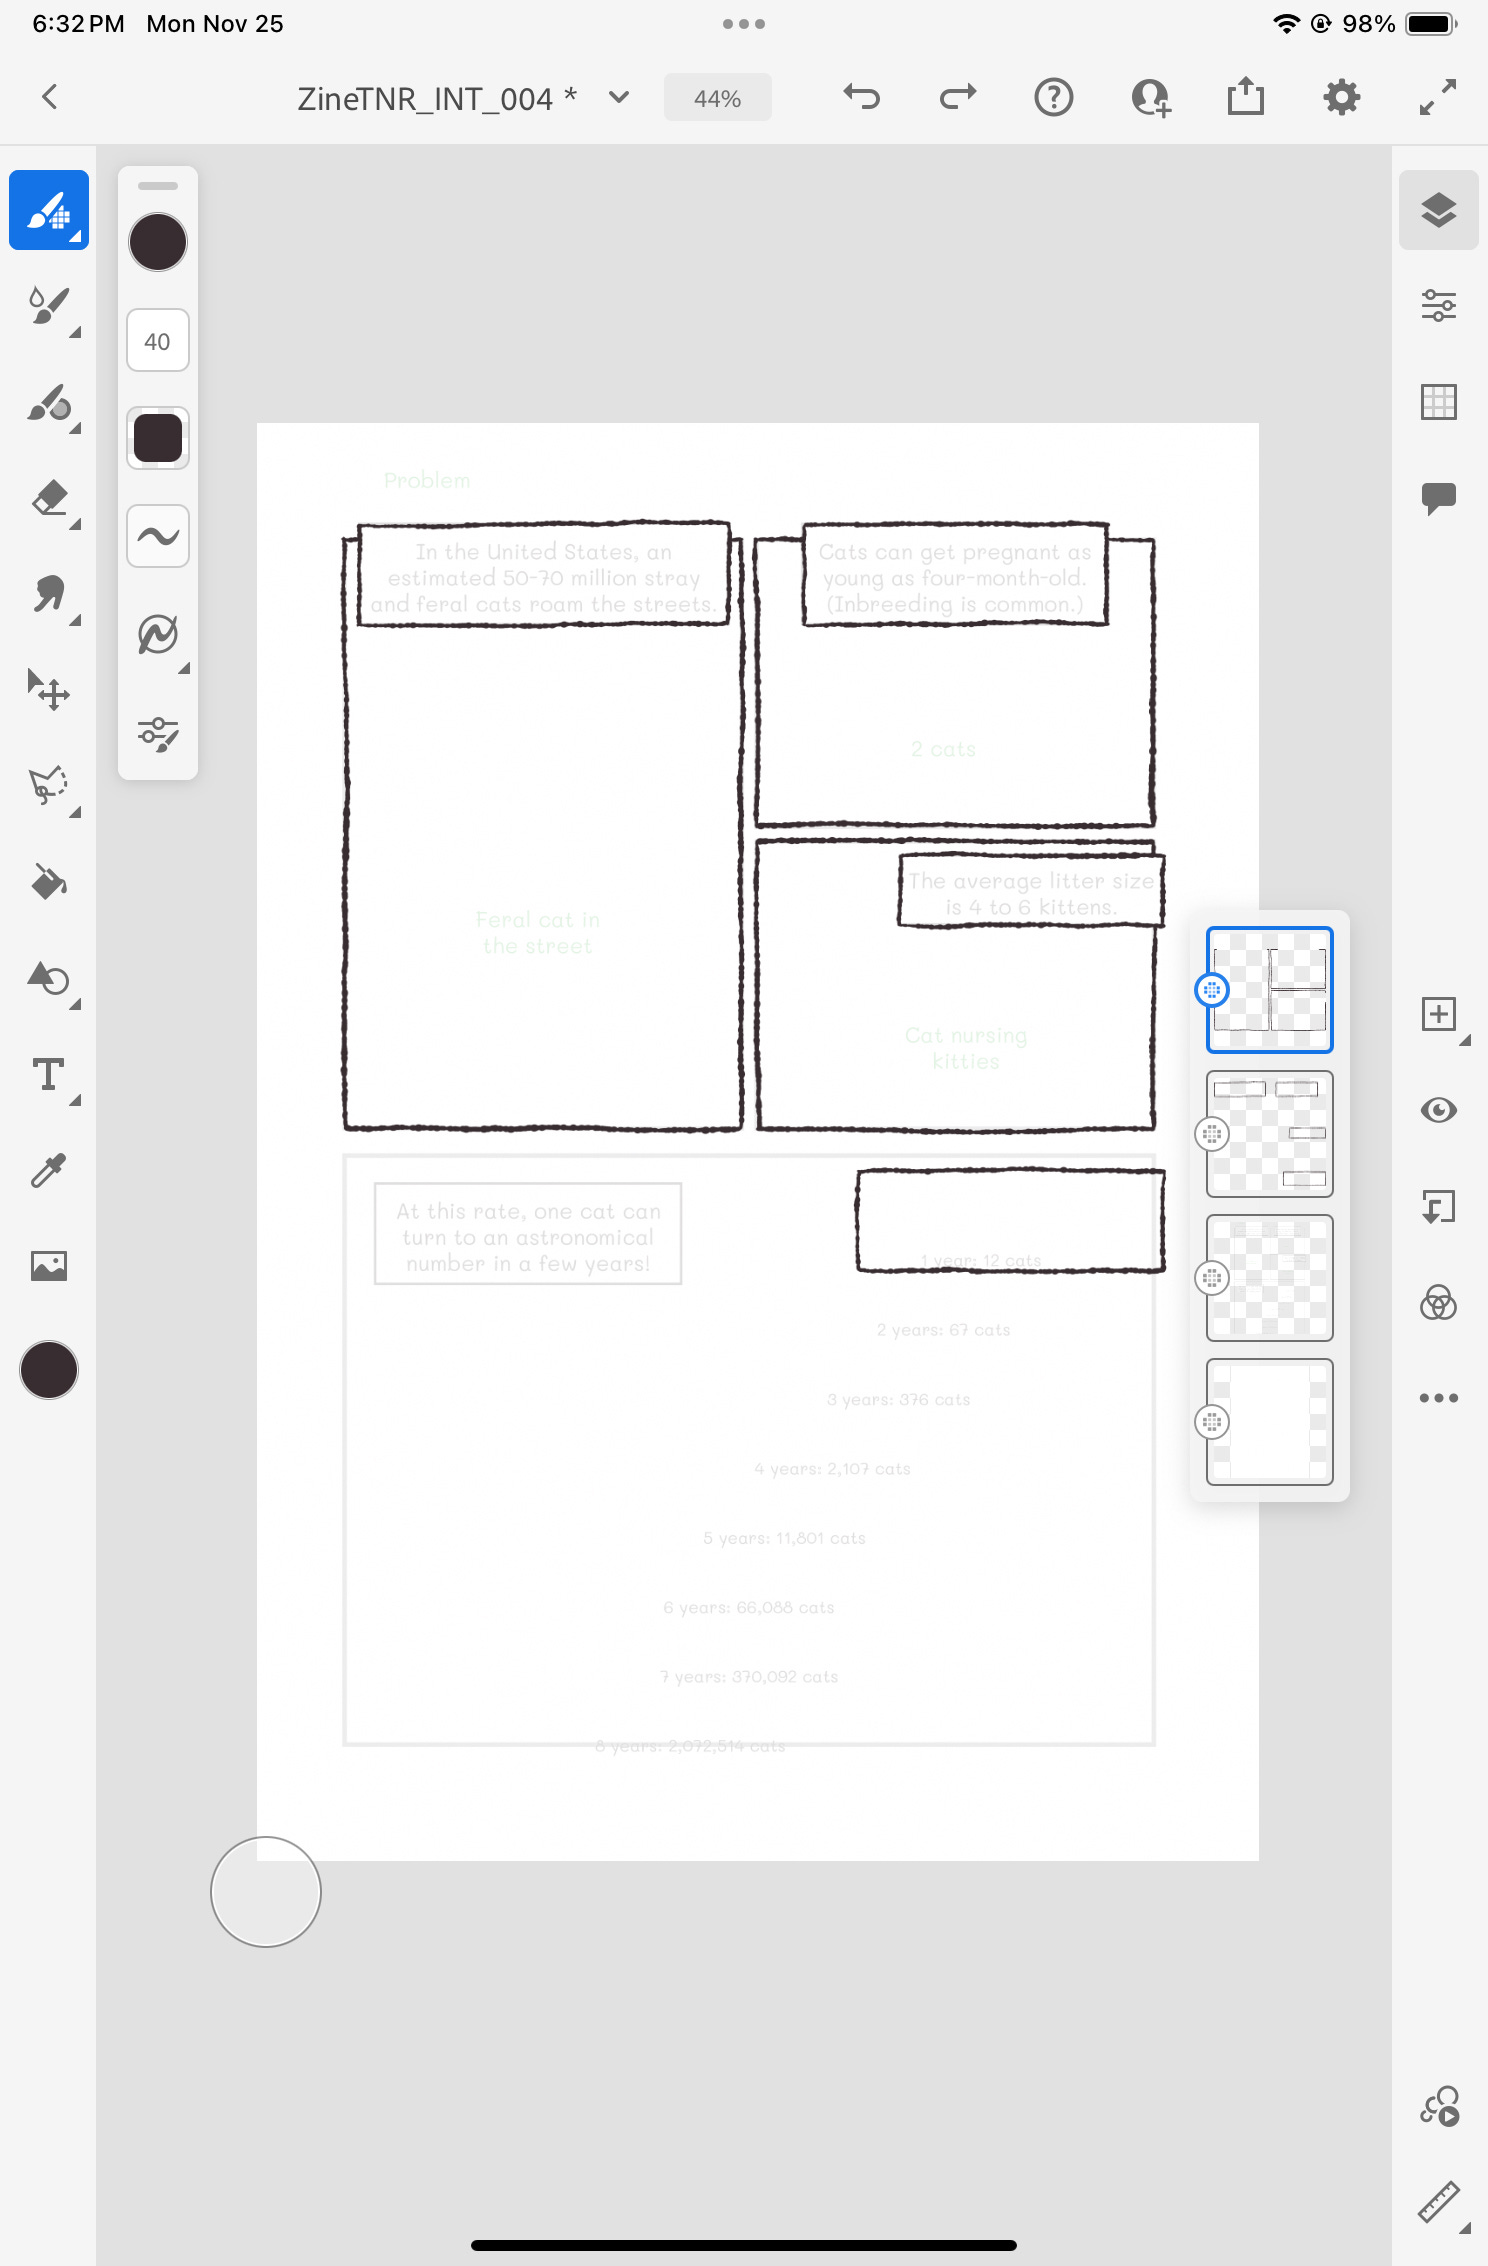
(Sometimes, I would shift the location of the dialogue bubbles as I saw fit.)
Then I did some sketches to give myself an idea of what I was going to draw per panel.
After that, I started inking.

And coloring afterwards. (Since this zine would be printed on a xerox machine, everything was in grayscale.)

When I finished, I saved this file on Adobe Cloud and opened the file in Adobe Photoshop…


(Out of habit as a designer, I renamed all my layers in Photoshop accordingly.)
Then, I linked the Photoshop file back in InDesign.
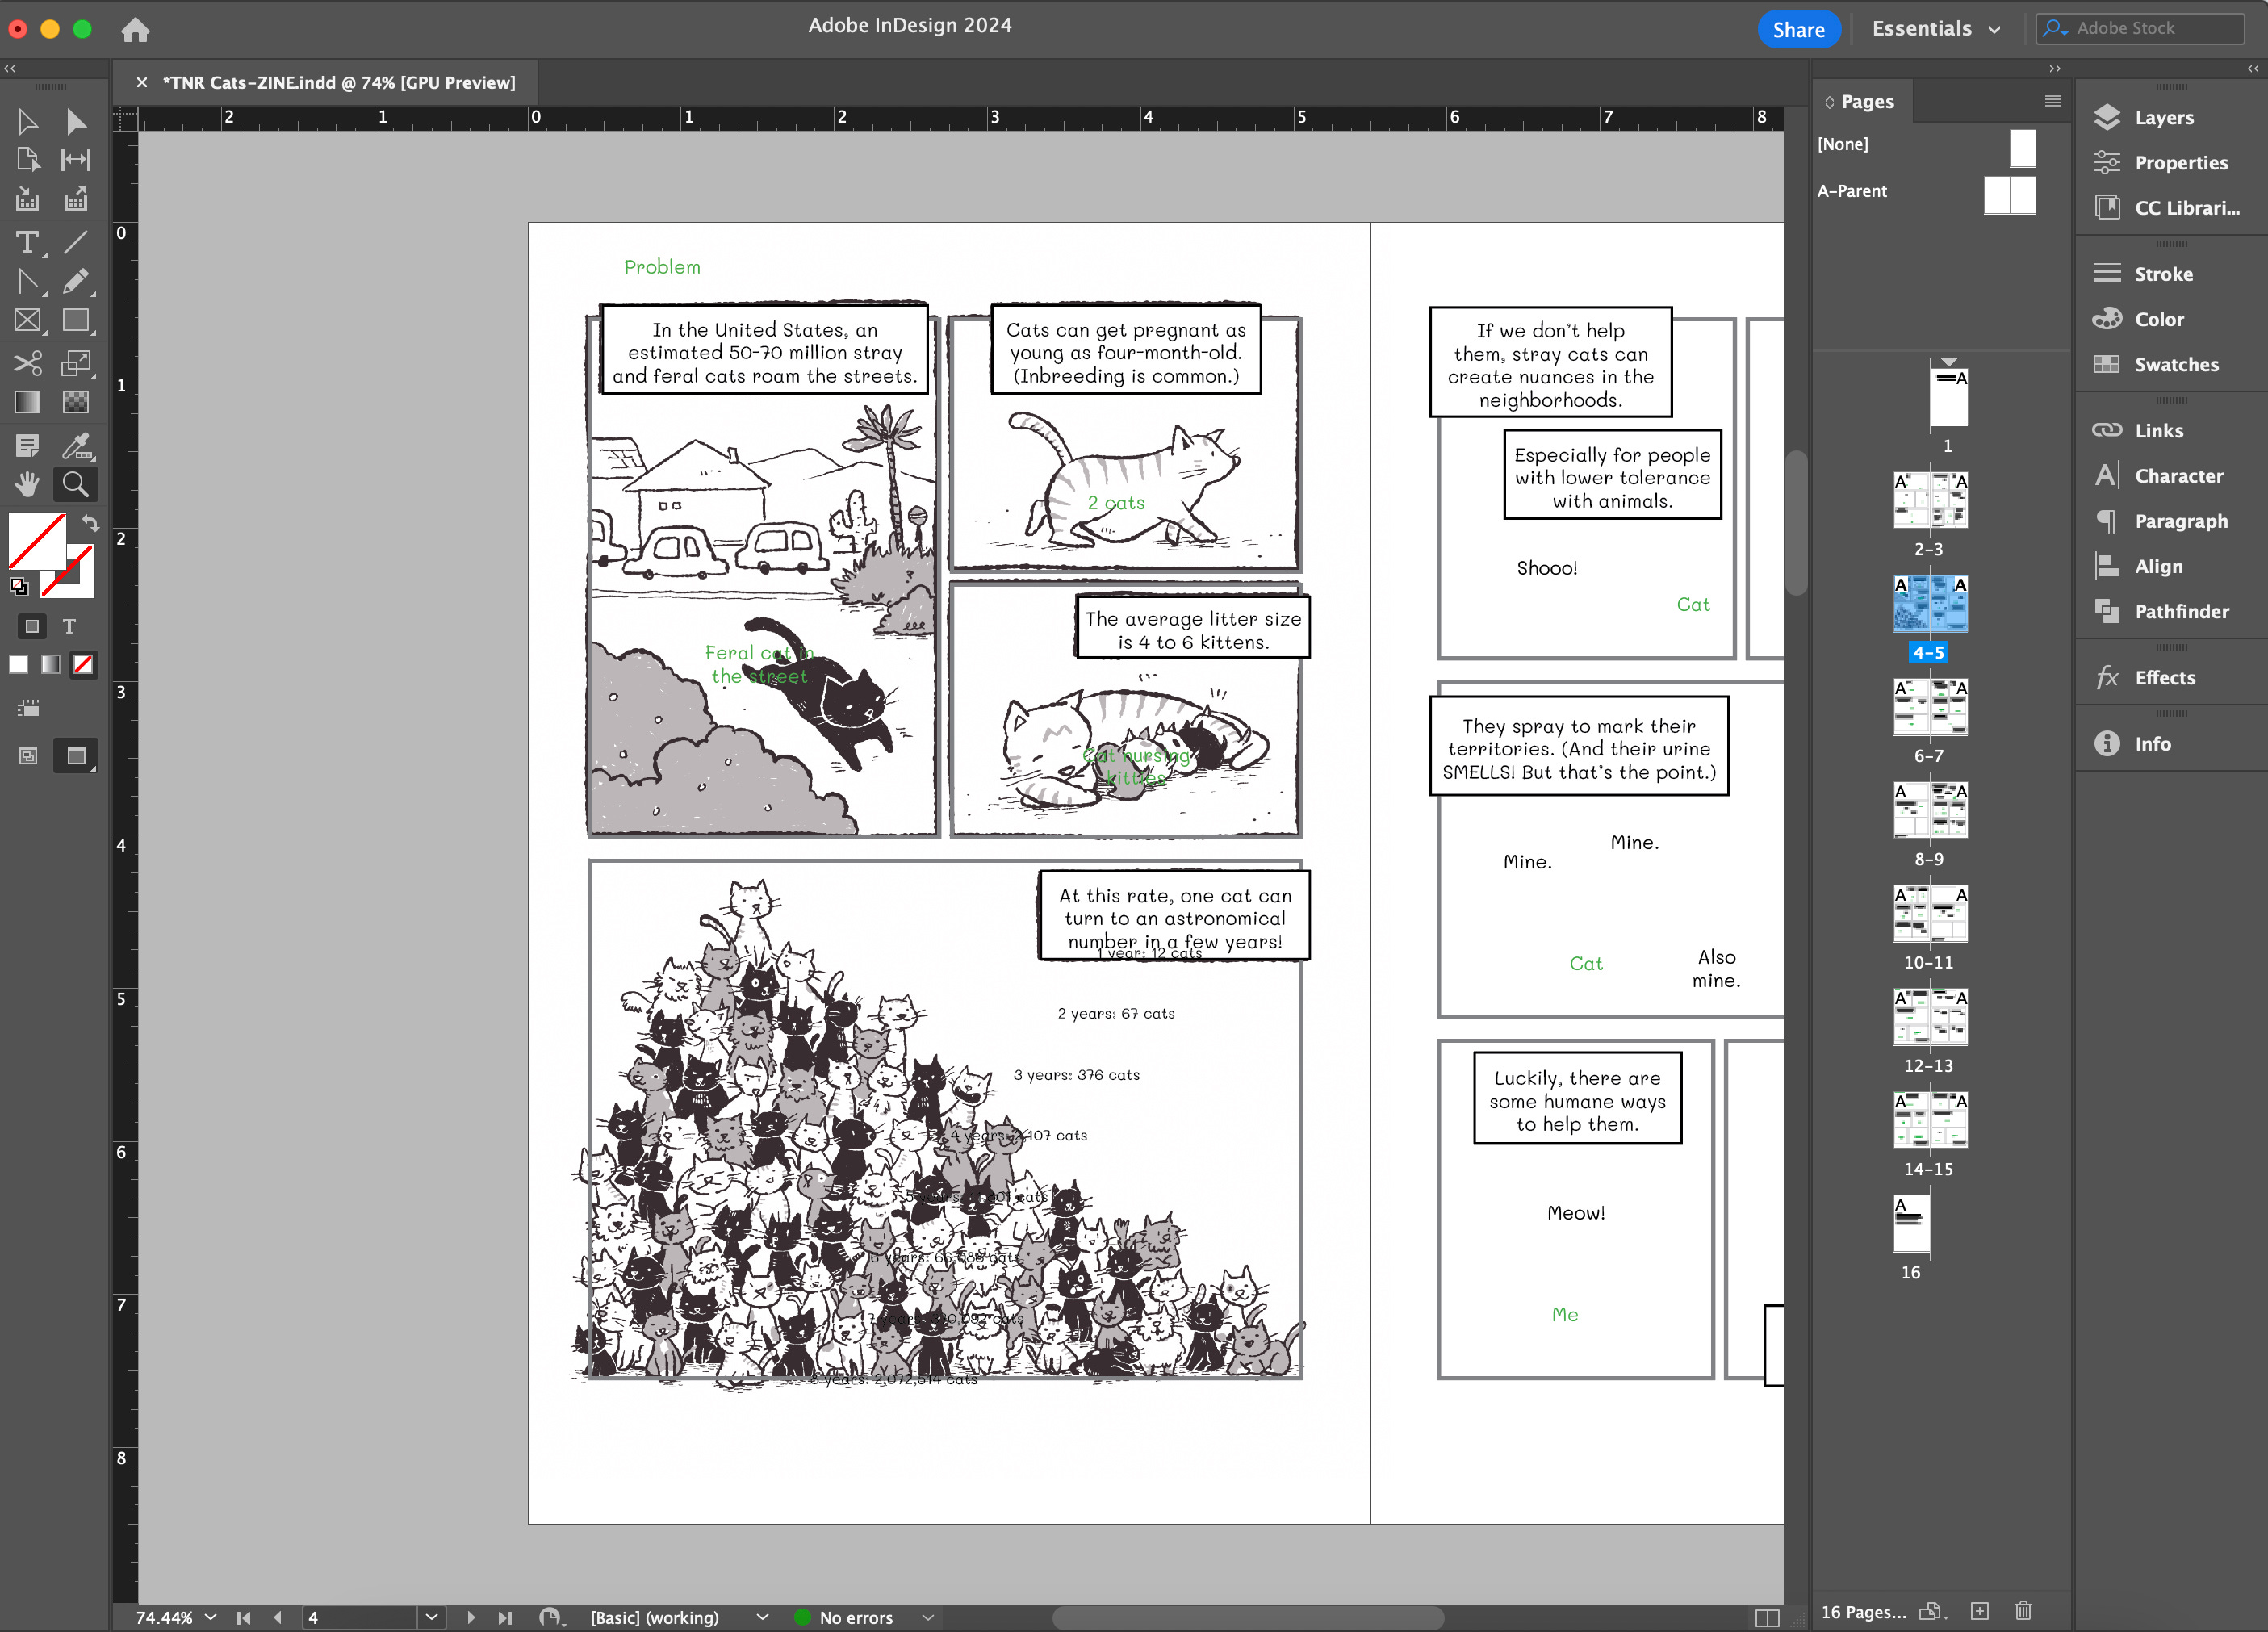
I no longer needed my art notes and the panels. So, I deleted them. (You can also create a separate layer in InDesign to keep them, if you enjoy keeping all the process work.)
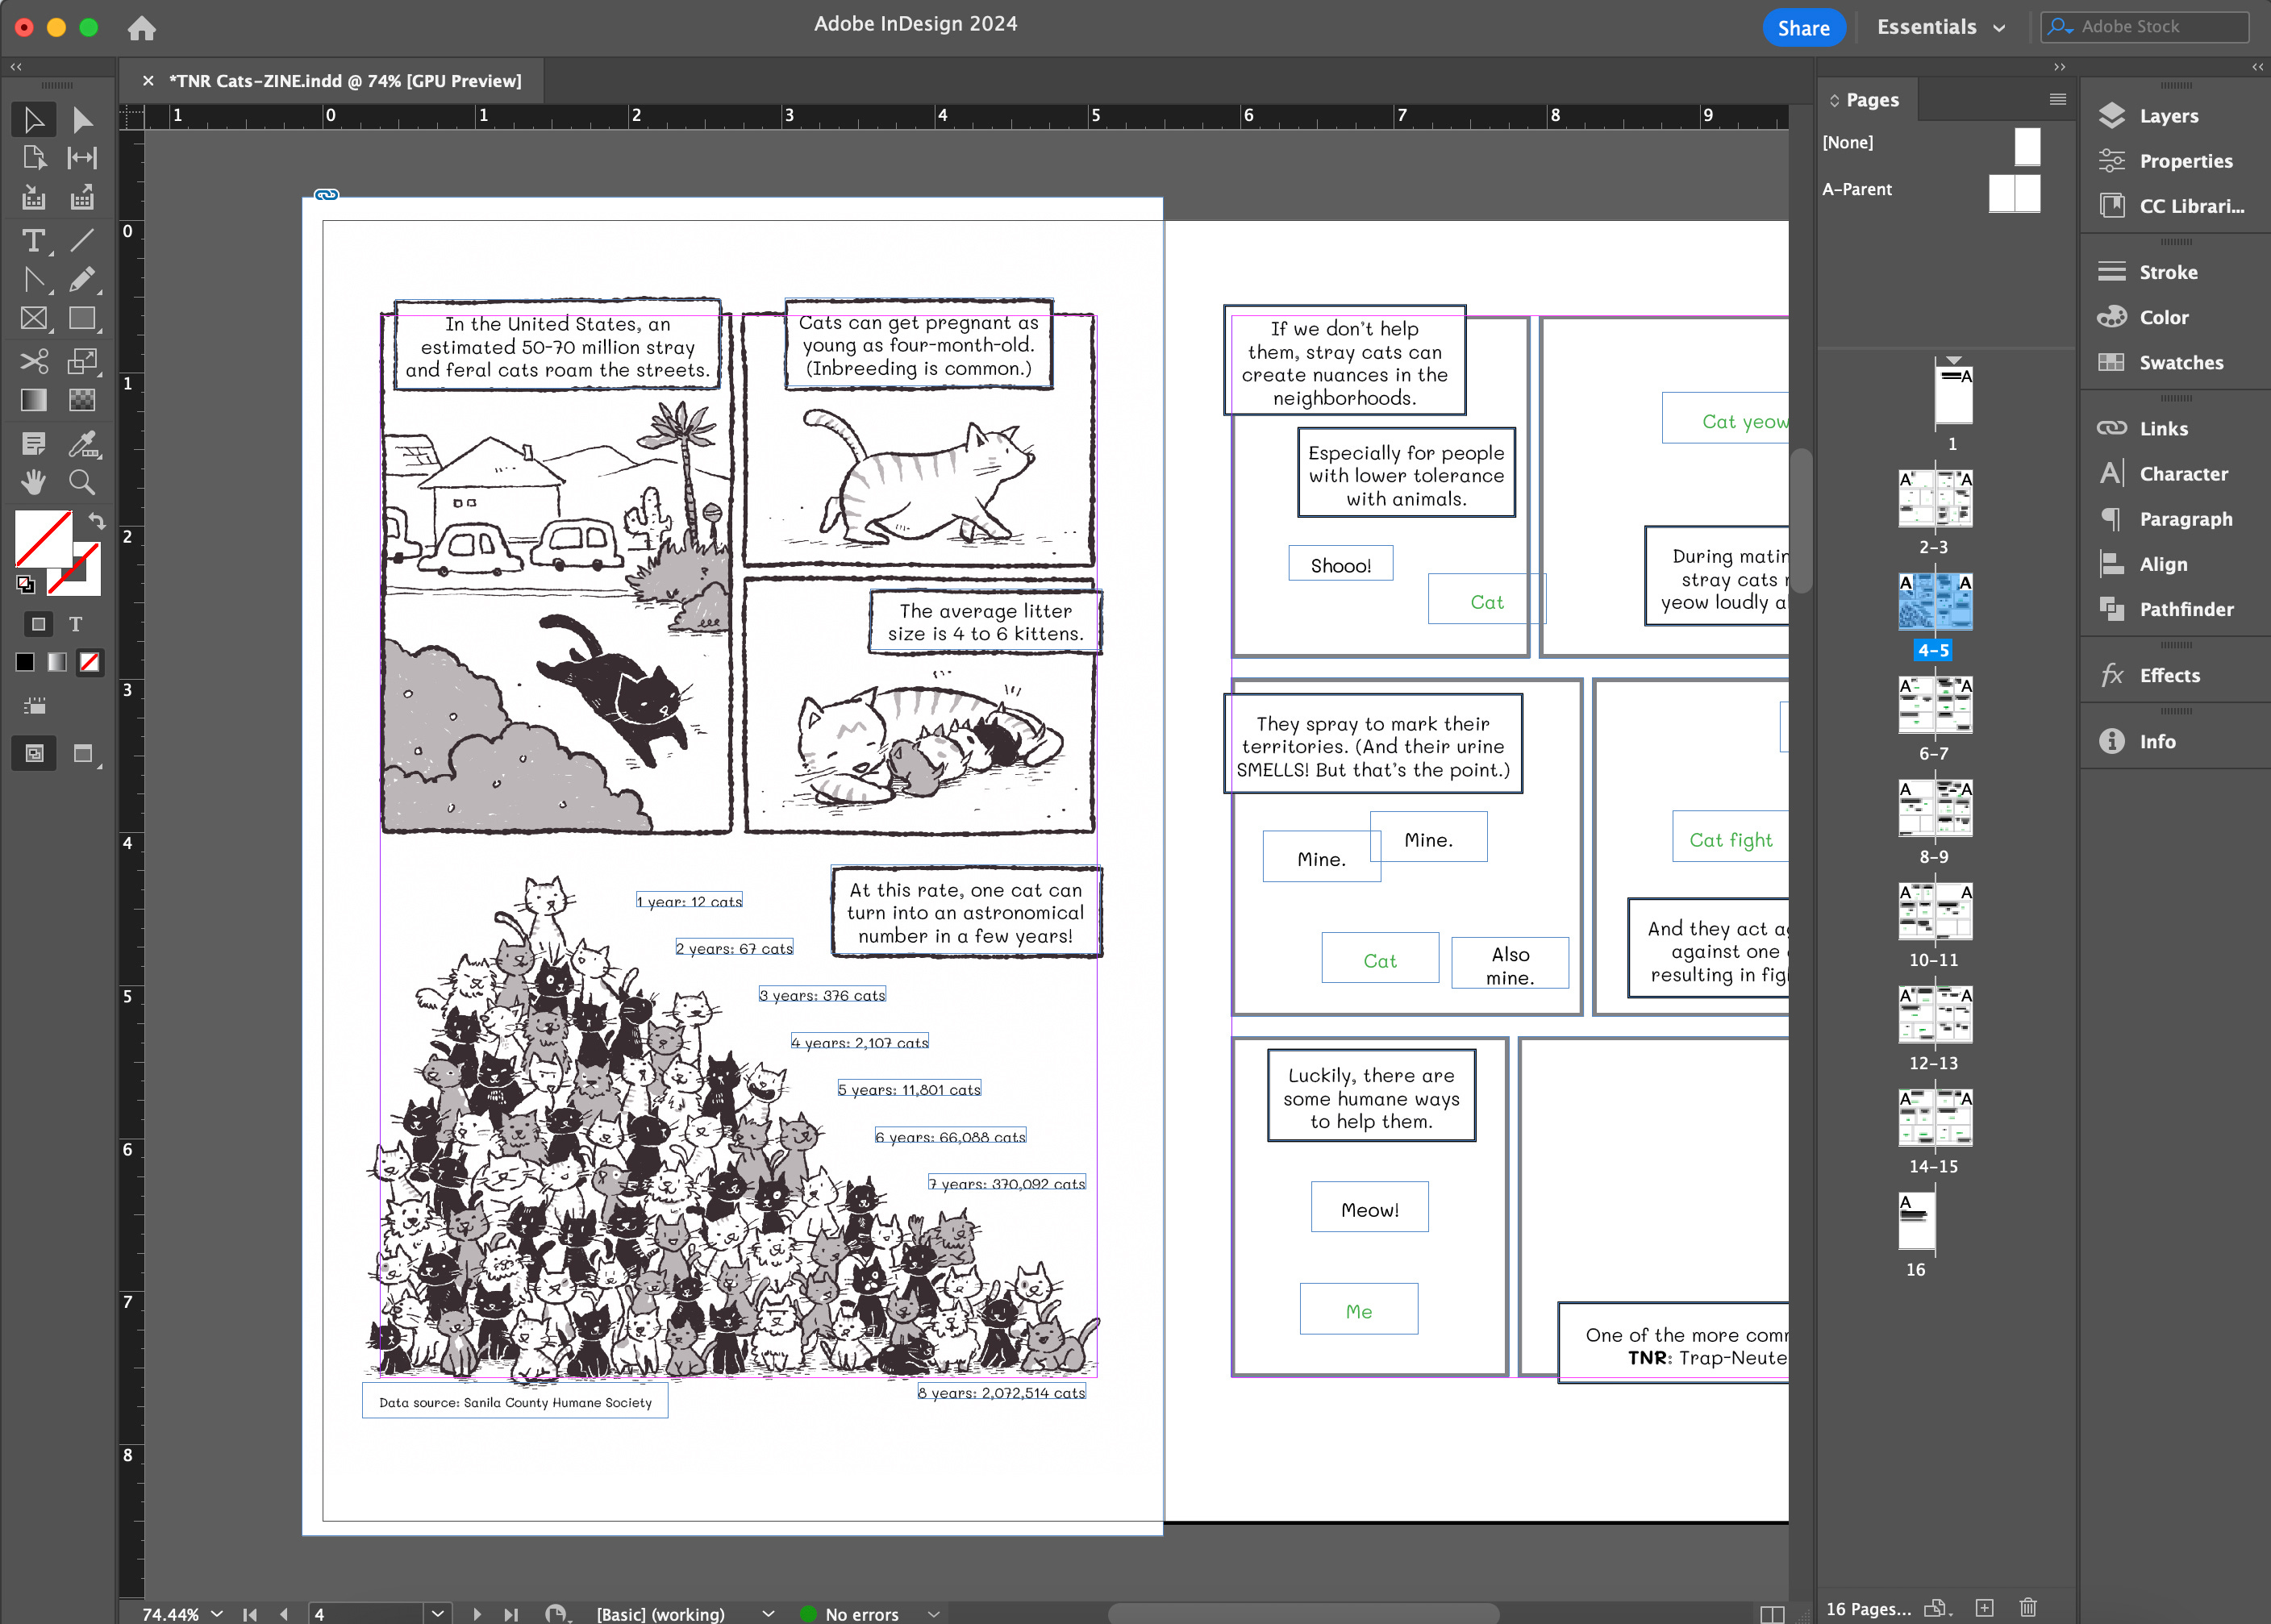

Repeat that for all the other pages, and I have my zine ready!
That’s my process when it comes to illustrating my comic zine!
PS: Keep in mind that Adobe Fresco does not support CMYK. All files on Fresco are in RGB. Make sure you convert the file to the correct format accordingly.
I will share with you the mistake I made while I am creating this zine in a future post. Like I mentioned before, making a zine is a great way to figure out all the potential mistakes I could make in the future. By “failing fast”, I get to avoid those time-consuming mistakes when it’s a bigger book project. (So, it’s not really failing. It’s learning.)
How do you work on your comics? Comment below and share your methods! I would love to learn about your process and the softwares/apps you use.
Wow, Maple. You’ve explained to me in person how In Design and Fresco are helpful to your process, and truthfully I didn’t fully get it (my fault 😬). Now I do. Your step-by-step breakdown is really helpful! Thanks
I love seeing this process, Maple - and the art for the Zine is looking so friggin’ cute!